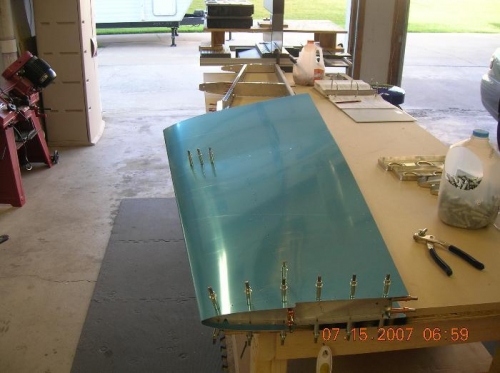
Brief Description: Prepared and clecoed HS skin to skeleton.
Today was my first "milestone" day regarding the project. First I drilled the rib to spar attach holes to #30 size and then took the skeleton all apart and deburred the holes and prepped all the edges with scotchbrite pads until everything was smooth and without burrs. Burrs on the edge of the pieces or holes can be a stress point and cause fatigue and cracking down road, something that you want to avoid in an airplane going 200 mph. Pretty much all of the parts are needed and you don't want any falling off.
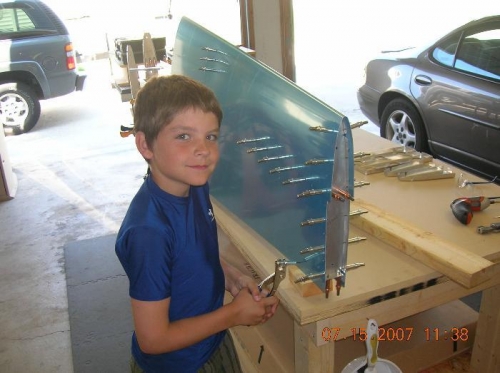
The next step was to attach the skins to the skeleton and this is where Tanner got into the action. After I got the skins in place and a few clecos put in to hold it together, he went to town. He thought the cleco process was fun and had a red mark on his palm and the start of a blister from the pliars when we were done. It takes a fair amount of pressure to collapse the spring inside a cleco with the pliars, but he did fine with both hands.
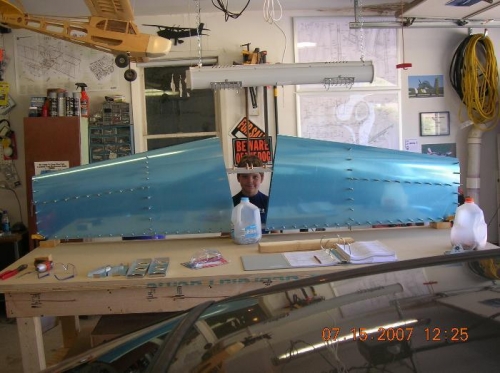
I call this the first milestone day because you can't doubt that we now have a part that really does look like something for an airplane. If you try real hard, you can visualize the RV-7 going straight up in the vertical portion of a loop.......