Long session today but not super productive because there was a lot of figuring out how to install the pitot lines and wiring for the pitot head controller. It was also slow going because I had to fabricate a bracket from scratch.
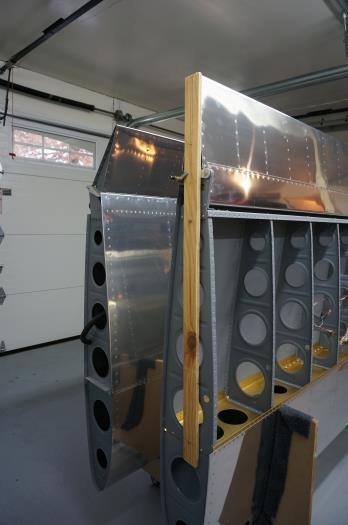
First I fabricated the aileron alignment tool to locate the neutral position of the ailerons per the plans. I Installed the alignment tool and the bellcrank neutral position jig and then adusted the short aileron control rod until it lined up with the hole in the bell crank. Checked the aileron maximum and minimum throw with a digital level and it was in spec. I wanted to make sure that the bellcrank was in the maximum down position to insure that there was clearance from the pitot/AOA lines.
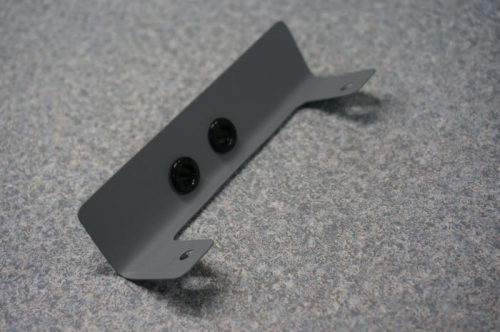
I decided to run the pitot and AOA lines from the Safeair kit under the bellcrank as other builders have done. I fabricated a support bracket with two snap bushings installed to hold the tubes in position just outboard of the bellcrank. I first made a cardboard template as a mockup and then I fabricated one from aluminum. When I installed it on the bellcrank bolts it ended up positioning the tube too close to one of the arms on the bellcrank so I made a second one with the hole farther away from the arm.
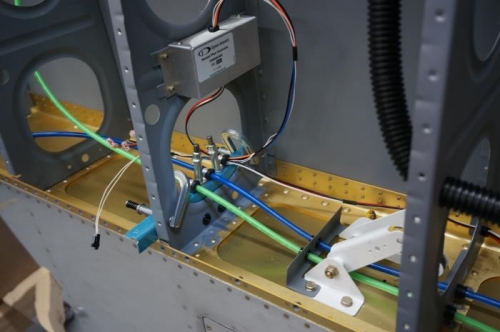
After that I experimented with ways to support the tubes and wiring outboard of the bracket I fabricated. I have some ideas but I still need to work out the best approach.
Aileron alignment tool in place
Pitot/AOA tube support bracket
Working out the routing for the pitot/AOA lines and wiring