Finished up all of the steps prior to beginning the skin riveting section.
After yesterday's build session I realized that the aft side skins weren't rolled where they overlap the aft forward bottom skin so I removed them one at a time and used my hand seamer to bend a slight edge roll in each of them.
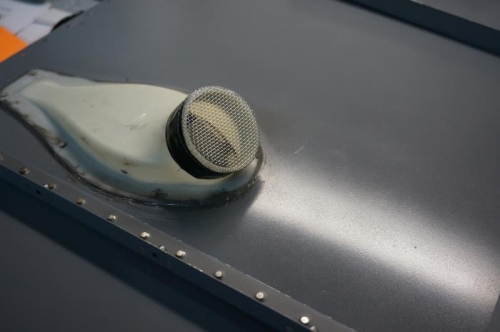
Cut a piece of window screen, formed it over the outlet of the NACA vent bonded to the LH forward skin. Wrapped a piece of duct tape around the screen to secure it to the vent until the scat tubing and hose clamp are installed. This will keep critters from crawling or flying into my cockpit.
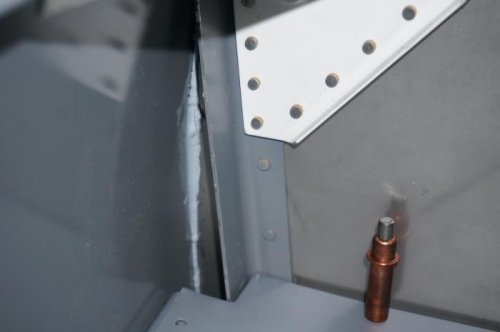
Applied firewall sealant on the firewall flanges common to the forward side skins and clecoed the skins in place
Installed the two pop rivets at the bottom forward edge of of the mid-cabin side skins. These two require the skins to be pulled out to allow clearance for the rivet anvil between the skin and spar so they need to be installed now.
Clecoed the 6 gussets in place
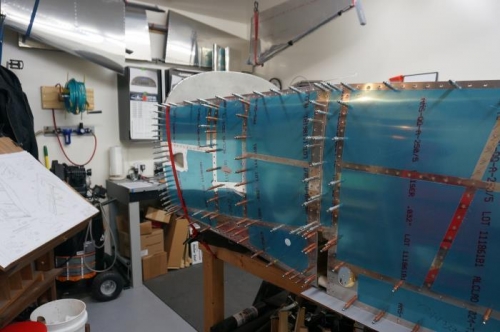
Moved the fuselage to low stands in prep for skin riveting.