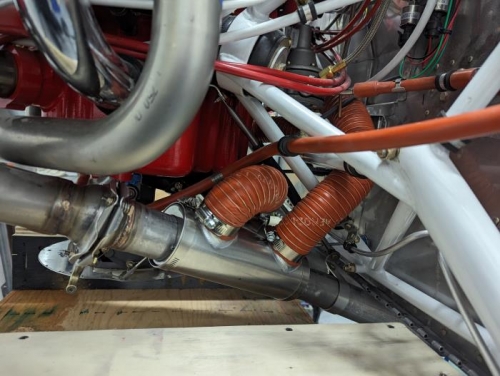
I was looking forward to do that as it looked quite straight forward and it is if you understand how it goes on the tail end ! The tail pipe is bend and I thought the bend was to make the tail pipe running parallel to the floor ... Of course I was wrong and I must have assembled and dissassembled it at least 10 times in a few days because the muffs were contacting the cowling. But I figured it out ... The bend is to make the 2 pipes running as much as possible parallel at the exit. In doing so, suddenly the pipe is high enough to provide a great clearance from the cowling ! Eureka !
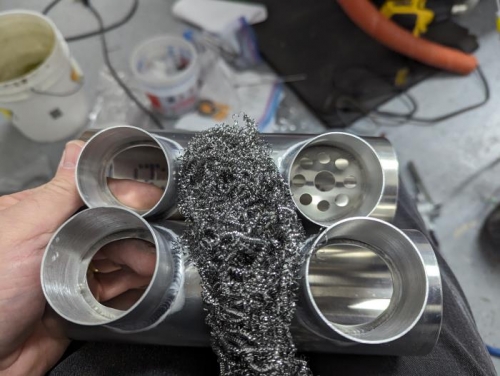
Here is how I installed it: I ran 2 heating muffs in series to get a higher heat in. I removed the restriction on the HM#1 to let the flow of air flowing through more easily. Also, to provide a better heat exchange , reading it from other blogs, I added stainless steel scrubbing material ... Finally I ran the scat tube from the baffle to HM1 bottom, then on the exit to HM#2 bottom and then to the firewall.
I also read that restricting the inlet from the baffle from 2" down to 1" improves it's performance . I just do not get it but I will try it when time comes.
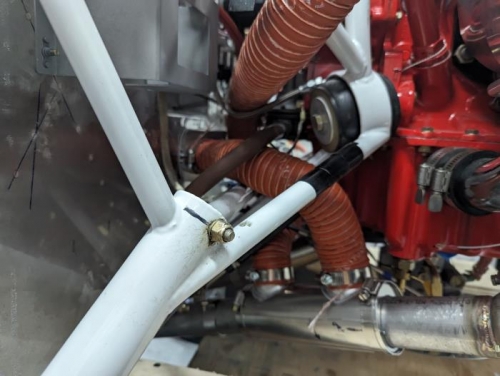
I have one last concern and that is the scat tubes touches various things like the engine mount, a cable here and there . I think to avoid premature wear on either part, it will need to be fix solidely to each of the parts it is touching . It is after all, a pretty thight engine bay and there are not many routes one can use to run the 2" diameter scat tubes ....
the 2 heat muff --- with one having no restriction