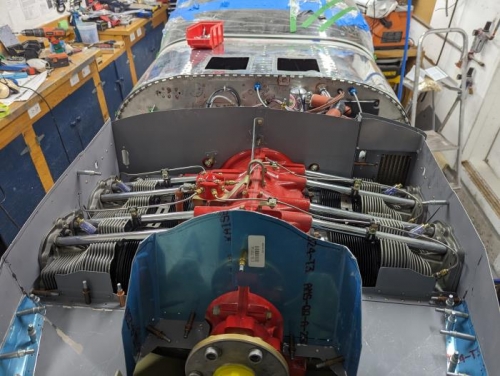
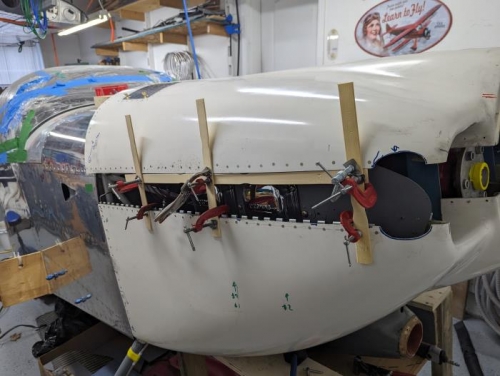
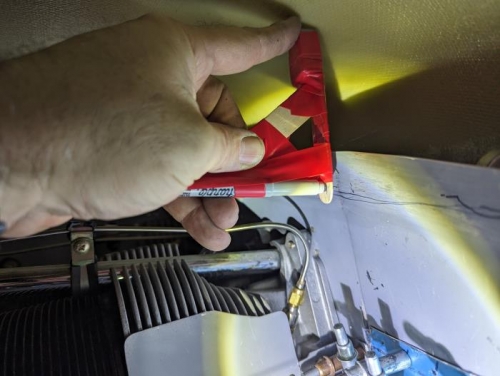
Now I am at the point where the baffle must be trimmed down with a gap of 1/2" with the cowling. How to do that ? I read a few blogs and found this one quite simple which consist of raising with an even gap the top cowling above the bottom cowling and making a small device to hold a sharpie at the proper place (gap dimension between the 2 half cowlings plus 1/2"( required gap) and trace a line around. Because you spaced up the to cowling, it makes a space big enough to let your arm going in between the engine and the top cowling. It went well after which I made spot check with carboard before I proceeded with cutting all the baffles parts
Next session will be to install pretty much final all the trimmed baffles components and see if the fit is as expected.
A note about my 1/2" gap decision. I read that 1/2" should be the minimum because the engine can move around under the cowl quite a bit. There is someone that said his top cowlingl was dammaged because of the baffle hitting it with the 3/8" minimum suggested by Van's . So I settle for the maximum Van'suggestion of 1/2".