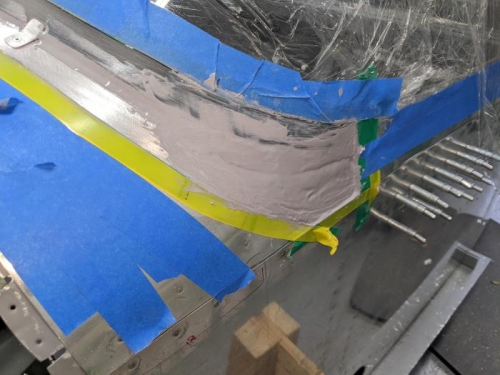
It goes at a slow pace when you have to wait. Today I did the secons round of adding epoxy with the filler to make it nicer before doing the fiberglass.
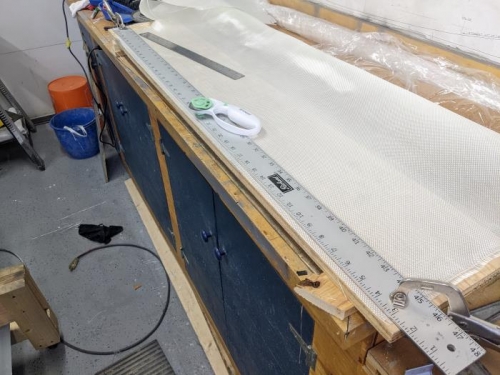
I also cut ready to use, the fiberglass parts needed to do the transition from the aluminium to the canopy.
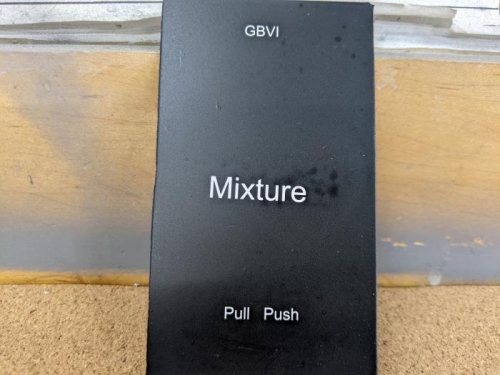
Finally, I did a practice run for my panel wich was to test the lettering on how I planned to prepare the panel surface. Essentially the steps are: MEK cleaning the surface, then use the Acid Prep 33 and Alodine after. Then primer (self etching I've used for most of my airplane, and the mat black paint. Then, I use a sample of the paper transfer I bought last moth and tested on how to apply it. I finalised the test by spraying a water based clear mat laque. The result is exactly what I was hoping !
Lat I prepared my panel by riveting it and priming the back side. Now it's ready to get the above treatment so I can add the lettering on it.