Brief Description: Control Surface Practice Project
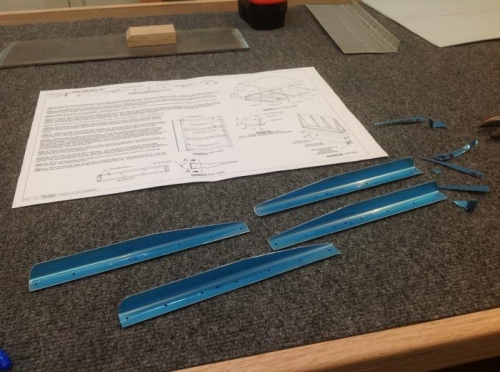
I finally got started on the main part piece of this practice project. The task is to assemble a small section of aileron. The first step was to take the angle piece and to cut four stiffeners from it. I used the band saw rather then the snips as outlined in the directions. I used the bench grinder and the stone wheel to get down to the drawn lines and then to the Scotch-Brite wheel to deburr the edges.
I used my DRDT-2 and an Avery 3/32" dimple die set to and started to dimple the two small skins and the four stiffeners. This was a very easy process using the DRDT rather then the C-frame and hammer. I have just placed a order with Cleaveland Tools for three more dimple dies. I have been told and also have read that they make very good dies. I will plan to use them on the next set of holes on the skins and see if I am able to tell the difference.
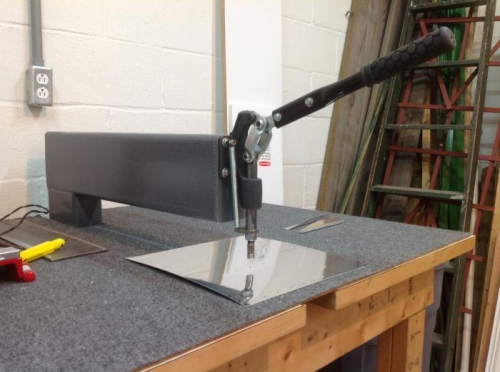
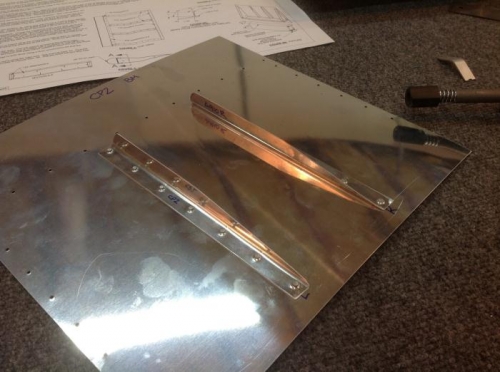
I took the time to remove the blue film from the outside of the two skins. In reading other builder sites, I took my soldering iron, duled the tip with the Scotch-Brite wheel and carefully outlined the areas I needed to remove. This took some time on this small piece of aluminum, on the real kit skins this will be very time consuming. I then took all the pieces and clecoed everything together, checking the fit and clearances of the stiffeners at the trailing edge. This pile of sheet aluminum is starting to look like a section of a aileron.
The four stiffeners get back riveted to the skins, this was good practice as I understand there is a lot of back riveting on the plane. Next, I will clean, degrease, and prime the two skins. At this time I am undecided if I am going to use the rattle can method, or set up to spray with my HVLP spray gun.