
|

|
|
|
Michaels RV-8
|
Date: 5-13-2013
|
Number of Hours: 5.50
|
Manual Reference:
|
Brief Description: Right Horizontal Stab
|
|
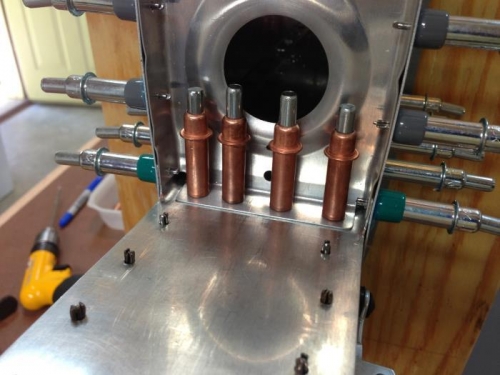
With the left horizontal stabilizer complete, the next step outlined in the manual was to repeat the previous steps and construct the righthand side of the stabilizer. Below is the attachment of the HS-405 main rib to the rear spar, HS-609 front spar, and the HS-801PP skin.
Four holes secure the HS-405 to the HS-702 and HS-404 parts. Care must be taken to ensure a good fit when laying out the drill holes on the forward flange of the HS-405 to HS-702. The manual tells you the prep the HS-405 and HS-404 early on, but due to a missed drilled hole and a new HS-405 and HS-404, I found it much easier to lay the holes out at this point.
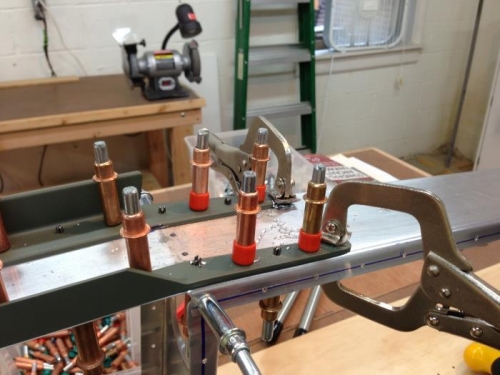
Below is the HS-404 and how it gets trimmed to fit around HS-810-1 and HS-814-1. As I have mentioned before, care should be taken to insure the minimum edge distance once the holes are drilled.
The assembly and drilling of the right horizontal stabilizer is complete. Next step per the construction manual is to disassemble, debur, dimple, and prime all parts for both stabilizers. I had just enough of 5/32 Clecos to complete this task.
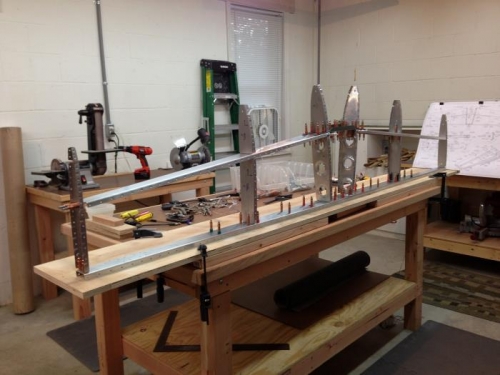
The last step was to remove the skin, assemble the “skeleton frame” and drill the outboard hole in the HS-810-1 and HS-814-1.
The completed “skeleton frame” is ready for priming. The two HS-801PP skins will need to be dimpled using the DRDT-2.
|
|
|
|
|
|
|
|
|
|
|
|
|
|
|
Copyright © 2001-2024 Matronics. All Rights Reserved.
|