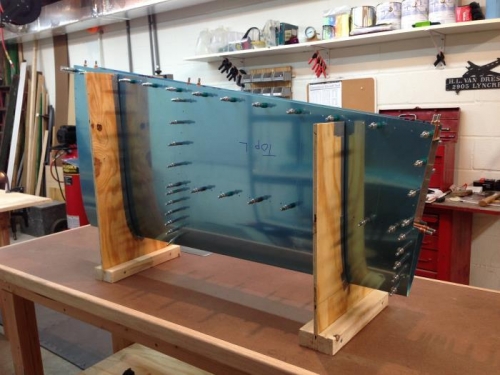
To help facilitate working on the surface, I constructed two wood fixtures to hold the stabilizer in a vertical position; that way I will be able to work on both sides with little effort. I quickly realized that by having the HS-801PP skin pre-punched, it made the assembling of the skeleton to the skin panel pretty easy.
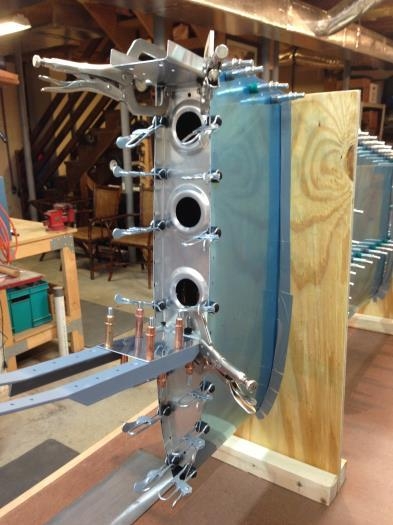
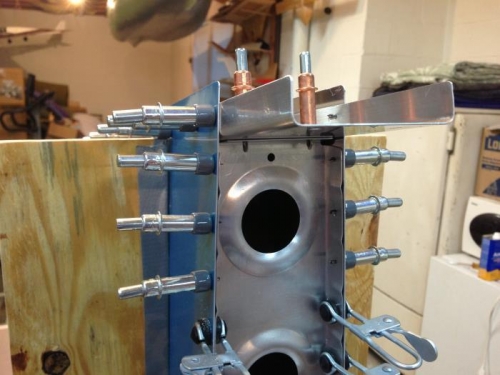
The two reinforcement angles, HS-810 and HS-814 get clecoed in and then the two end ribs, HS-404 and HS-405 get clamped in place. Once in place and aligned up, the aft flange of HS-405 gets drilled and clecoed to the HS-603 rear spar.
Once everything is checked for proper alignment, HS-405 gets drilled using the pre-punched holes started aft and working toward the front, moving the clamps and clecoing as you go.