
|

|
|
|
Michaels RV-8
|
Date: 4-17-2013
|
Number of Hours: 8.00
|
Manual Reference: 6.2
|
Brief Description: Front Horizontal Spar
|
|
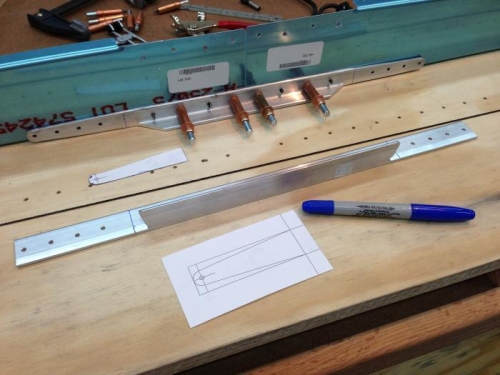
After a week off from building, I have started with the front spar assemble. This again is a small sub assembly which is fairly straight forward. Although it has a few pieces that will require cutting and bending, therefore I plan to proceed with caution. The first task was to taper the ends of the HS-810 and HS-814 aluminum angle, taking care to keep the minimum edge distance from the hole at each end. To do this, I was able to draw a pattern in CAD, print it out and trace it on the four ends. This really worked out well. I ruff cut the piece with the band saw and followed up with a file and Scotch-Brite wheel.
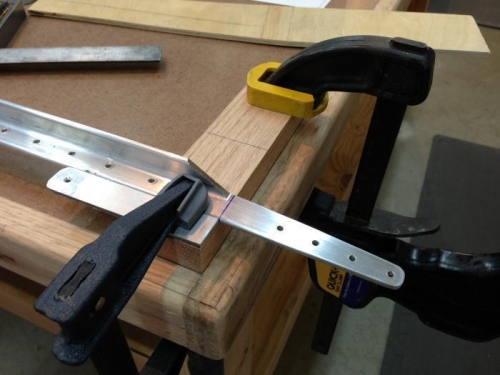
The first two parts that get bent is the HS-810-1 reinforcement angle and HS-814-1 splice angle, both get a 6 degree bend. Again I had drawn the correct angle in CAD, printed it out, and used it the check the bend. I also had taken a piece of plywood and cut the correct angle and used that to check the bend as well. All in all, this task was painless. Again read the directions, work it out in your mind, read what other builders have done, set up any jigs, clamps, blocks of wood, and when your satisfied, bend the parts.
Most every builder site that I have looked at has done it, and it was just a matter of time before it had to happen to me. The dreaded messed up part. And the call of shame to Van’s to order a replacement part. The front spar consist of two HS-702’s which requires them to be bend to 6 degrees to match up with HS-810 and HS-814 angles.
The construction manual states “bend the tab using a hand seamer or blocks of wood”. Why I chose the seamer and not the wood I do not know why, but I did. I clamped the seamer to the tab and locked the vise grips. Applied some upward pressure and made the bend. I repeated the process on the other side. I took my to 6 degree templates and measured the bend, too much of a bend. Took the part and laid it on the bench and applied some downward pressure to flatten the bend. I ended up doing this a few times until the bend was at t
|
|
|
|
|
|

|
|
|
|
|
|
|
|
|
Copyright © 2001-2024 Matronics. All Rights Reserved.
|