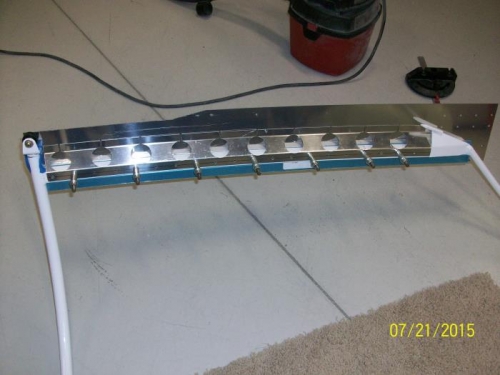
I continued work on the canpy side skirts. The lower inside skirts were fabricated by laying out and marking hole locations and drilling rivet holes along the top and drilling lightening holes through the center section. A slot was cut from the bottom of each lightening hole to the bottom edge to give the part more flex.
The inside bottom skirt was drilled to the canopy frame and to the outside skirt.
The right outside skirt and upper inside skirt were clamped to the canopy frame and drilled. The lower inside skirt was drilled to the canopy frame and outside skirt.
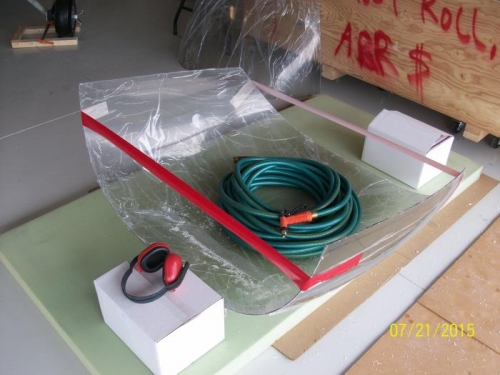
The canopy was cut along the back as previously marked and then the cut dividing the windscreen from the sliding protion of the canopy was made. The canopy sides were then trimmed as marked. The cutting is a slow go with the ocsillating cutter but it provides terrific control and makes a very nice cut. I had great trepidation about this canopy cutting thing but it all turned out to be much less daunting than I expected.
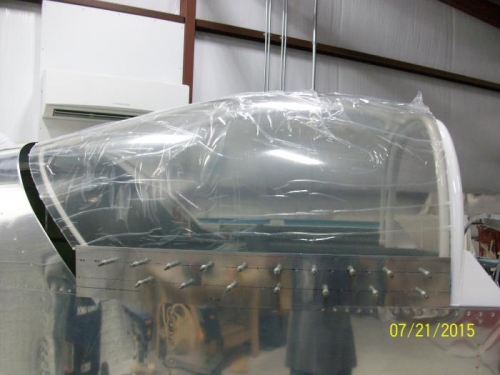
The canopy frame was put on the fuselage and then the canopy laid on top to see how well it fit. It looks really good but the canopy will require a little trimming along one side to fit properly.
The canopy and frame were removed from the fuselage. Masking tape was applied to the canopy frame to aid in drilling. The canopy was clamed to the frame in preparation for drilling.