On the home stretch for the fuel tanks. First I did a final cleaning of the interior of the tanks and the baffles, brackets and rivets to be used in the session. This was done with MEK while donning my respirator.
Next I carefully laid the bead of sealant along the skins and outer rib flanges and lightly coated the inner rib flanges with sealant. Then the baffles were positioned, cllsoing the tanks for good. Every rivet hole was clecoed, then I moved to the next tank and repeated the process.
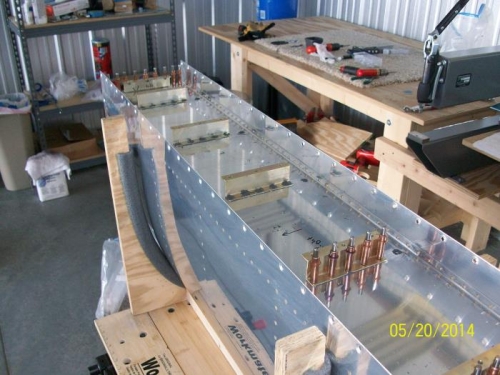
I moved the right tank to the cradle and riveted the skin to baffle rivets using the pneumatic squeezer. I removed every third cleco and riveted, then reapeated this untial all rivets had been set. I found that I had to "touch-up" the coutersink in the skins slightly on mant of the holes. I guess I was a little shy the first time around, which is fine, since it is way easier to countersink a little deeper than it is to correct for one that is too deep.
I also pull-riveted the baffle to interior ribs at top and bottom and pull-riveted the attach brackets to the baffle and ribs on a portion of the interior ribs before calling it a day. I should complete this and the left tank in tomorrow's session.
Left tank with sealant bead applied
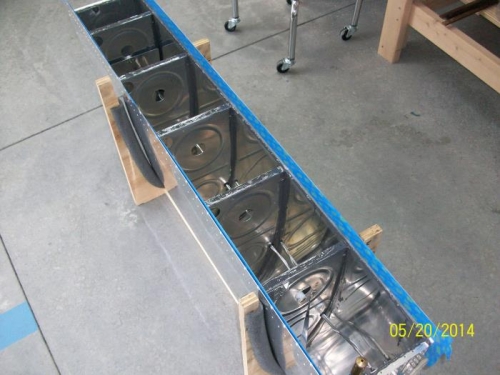
Right tank with baffle clecoed in place
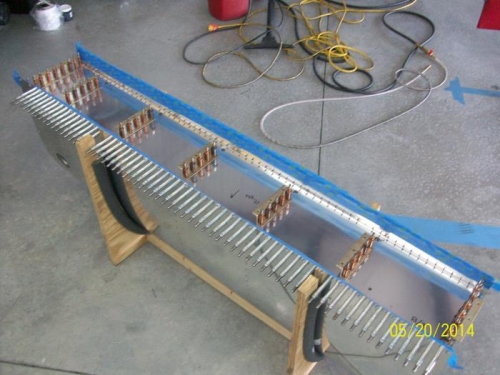
Right tank baffle riveted and several attach brakets riveted