Brief Description: Designed and made a tool for edge forming, finaliz
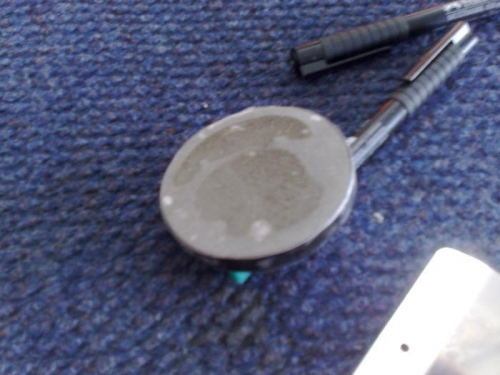
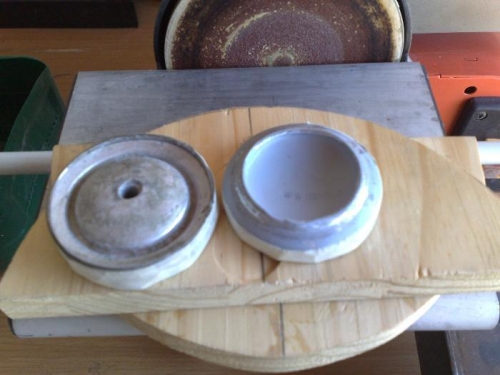
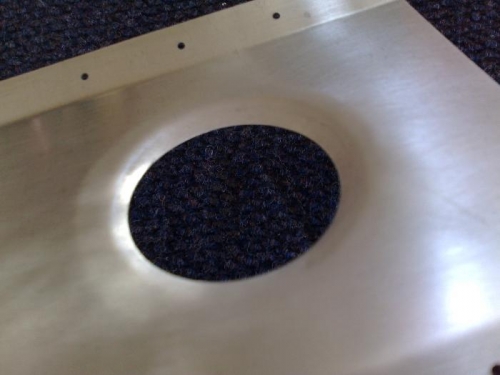
So after spending some time last night trying to think up an effective method of forming the edges of the lightening holes in the canopy tip up shroud reinforcing braces and came to the eventual conclusion that the most effective way to do this, that would result in a neat and consistent 'flange' would be to make a press of sorts. I set about trying to shape a domed shape in wood that would be pressed into a matching hole in a block underneath the work but this took too long and came up short. Then in a moment the simplest invention ever occured to me - I took the top and bottom off of a soda can, delighted to find that the top fitted perfectly into the upside down bottom as predicted I now had a plug and mold opr male and female press. I needed to strengthen these since I knew they would just crush under the intended pressure of the vice or clamp and they needed to be solid enough to form .063 material. I mixed up some fiberglass resin with the ratio favoring the catalyst (without over catalizing to make it brittle or not set at all), but to 'bind' make this mixture and make it strong enough not to crack under pressure I added a hefty ratio of filling material in the form of fiberglass, foam and metal 'dust' I had collected at the sanding machine throughout this project (I knew it would come in handy) - it worked a treat and within 10 minutes (!) I had incredibly hard and tough forming blocks. I then glued the blocks to squares of plywood - to distibute the clamping pressure evenly and save the blocks. When cleaned up and ready I inserted the blocks into the first hole in center brace F-7128A and tightened gently with the clamp at first, watching what the metal was doing, when it seemed to be working I applied full clamping pressure and then unscrewed the clamp and to my surprise and excitement had an excellently formed flange even better then the instruction and fellow builder's photos! Repeated the process on the remaining holes and then spent some time deburring, drilling and edgeing the brace parts.