I spent the morning designing the avionics bay. The idea is that it will slide in as a complete unit.
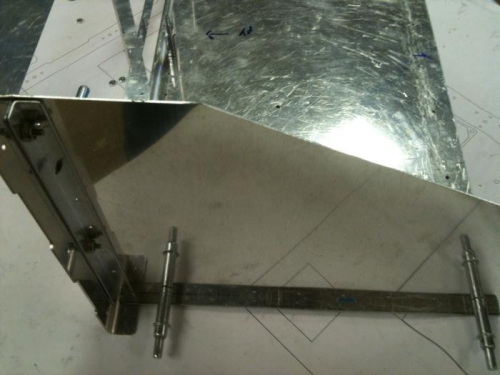
I quickly built up a concept out of old scrap. Then I started building up the right support (Figure 1). The view is the same as the CAD drawing.
The side support will be replicated on both sides of the Garmin stack. The stack will be supported by the side piece. It will also hold the bottom up, preventing it from falling out of square. The "Bench" will also be supported by the side pieces.
After getting the right side built, I tried fitting the whole system into the plane. Bad News! There was a slight interference with the cross member just behind the panel. I had thought that I had verified the fit years ago.
I decided to put on the top skin to double-check. That actually improved the situation slightly, but I still had an interference. I decided that it was only about 0.040". I decided to put a shim between the "floor" and the front flange to raise the floor 0.040".
Next step was to rebuild my bandsaw. The rubber tire had come off. I put it back on, but it came off again quickly. I found some spray rubber cement that seemed to do the job.
The shim worked. Zero clearance, but the system fits.
The next step was to start mounting trays. I mounted the transponder tray fairly quickly.
From here, I mount the Garmin supports and then start fabricating two more side panels.
All panels, including the floor, will eventually get lightening holes.