Brief Description: Cutting And Mounting Passenger Exhaust Tunnel
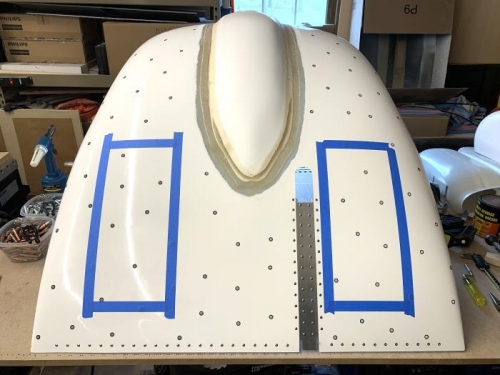
Marked both exhaust tunnels with painter's tape to outline the 15" x 6.5" openings required.
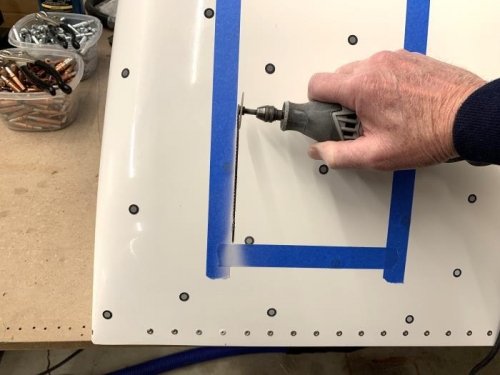
Began installing the passenger side exhaust tunnel by cutting the tunnel opening. Left approximately 1/16" of material inside the tape edge to allow dressing the final edge with a smooth and straight edge.
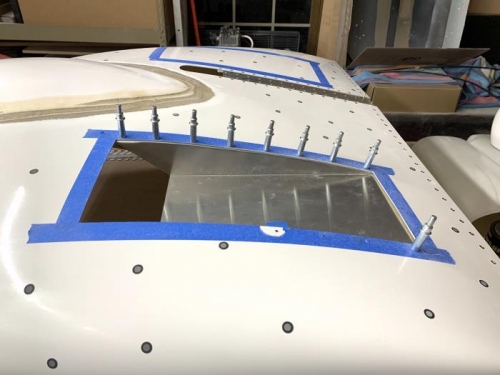
Positioned the fabricated aluminum tunnel on the inside of the cowling and began drilling #40 holes to cleco the tunnel into position.
It's important to start the holes at one end or the other of the tunnel and work forward to "roll" the curved tunnel into position as it's clecoed. I started at the aft (firewall) edge. My first cleco to just help hold the tunnel was midpoint in the row, and by the time I rolled the tunnel into position as I was clecoing it, the first hole drilled at the midpoint on one side was just slightly off. It might have been okay, but I chose to fill the off hole with fiberglass resin and continue tomorrow.
Exhaust tunnel openings outlined with painter's tape to provide edges to dress to.
Cutting to within about 1/16" of the tape line to open the tunnel.
Passenger side exhaust tunnel being positioned and drilled. Stopped to fill one hole.