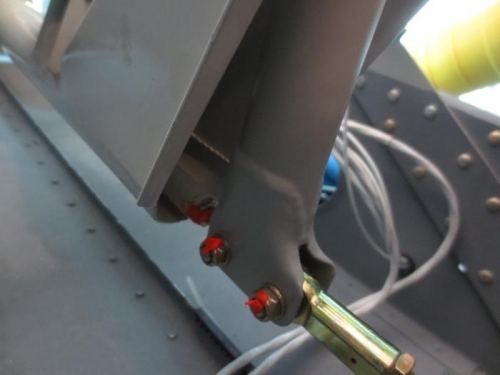
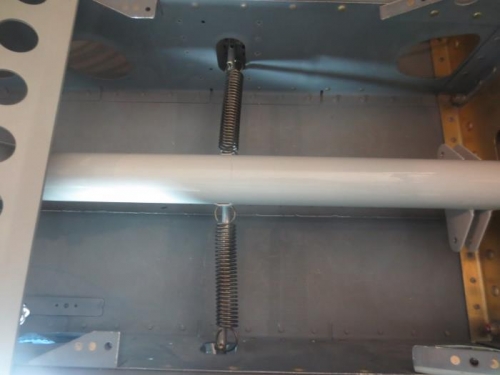
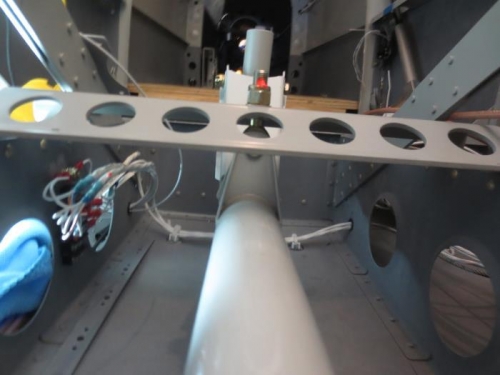
Page 8-58 Installed the jam nuts and rod end bearings on both ends of the F-839-2 Pushrod Assembly. Adjusted them for a bolt hole center-to-center distance as shown in “F-839-2 Pushrod Assembly”, DWG 79). Temporarily bolted the WD-411 Front Control Stick and the Rear Control Stick Assembly in place on the WD-807 Control Column and adjusted the length of the F-839-2 Pushrod Assembly so that the WD-411 Front Control Stick and WD-812 Rear Control Stick are parallel with each other. Tightened the jam nuts of the Pushrod Assembly to lock the rod end bearings in place. Positioned the control column in the fuselage. Installed the rod end bearings and jamb nuts on the F-837-1 Aft Control Mount as shown in “Section F-F” and “Detail B”, DWG 79. Temporarily mounted the F-837-1 Aft Control Mount in place on the seat floors (See “Detail B”, DWG 77). Installed the rod end bearings and jamb nuts on the F-849 Fwd Control Mount as shown in See “Section G-G” and “Detail C”, DWG 79. Attached the WD-807 Control Column to the rod end bearings on the F-849 Fwd Control Mount and F-837-1 Aft Control Mount using the hardware depicted in “Detail B” and “Detail C”, DWG 79. Installed the WD-411 Front Control Stick and the Rear Control Stick Assembly on the WD-807 Control Column. Connected both ends of the F-839-2 Pushrod Assembly to the front control stick and Rear Control Stick Assembly with the hardware specified. Attached the F-840 Pushrod Assembly to the WD-412B Rear Control Stick Base (See “Detail B”, DWG 79).