Again to catch up on my Log entries. I removed all parts on the Fuselage and spend 2 full days - plus - sanding all surfaces. The original primer had been touched up in many areas and I was not sure with what and afraid the Poly Tak might lift it and ruin all of my work so I decided to re-do it with the correct primer for the job..PolyFibre's own. It took a huge amount of time and effort but I think well worth it. The baggage box could not be removed with out destroying it so I simply taped it off and worked around it.
I next checked all of the joints in the factory empennage parts and found several of them loose or seperated. These were corrected and re-glued with T-88. The parts were then sanded, cleaned and the first coat of Epoxy polyurethane was applied to them. Another coat and they will be ready for covering. Before I do that however, I'm going to have both the AP/IA's I know come by and check over the reglue work on these and go carefully over the wings as well. Prior to that I'm going to re-assemble the Fuse parts I've removed for their final coat of Polyurethane Varnish on the wood parts and polishing on the Aluminum parts. When done I'll then have the inspection done and include these parts as well. Both of these guys are expert Rag and Tube men. They are both Stinson owners (one completely re-built his personal Stinson) and considered National experts on that A/C. They are well qualifed to pass judgement on this project.
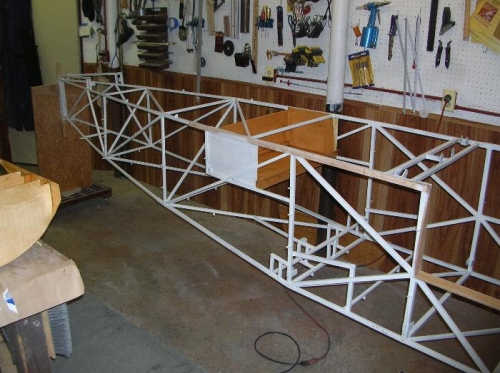
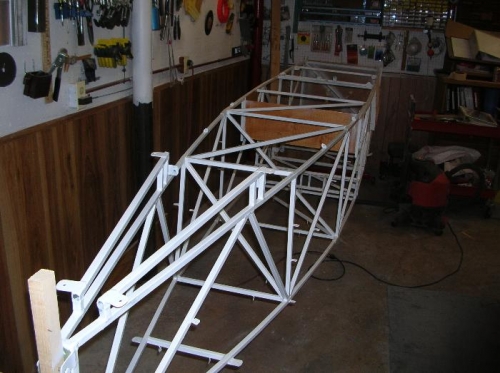
Fuselage - sanded and re-primed with expoxy primer
Fuselage full view of re-prime
Stab, El, and Rudder sanded and 1st coat of Epoxy ureathane.