
|

|
|
|
Bens RV-10 Site (Non-Active)
|
Date: 12-3-2011
|
Number of Hours: 1.50
|
Manual Reference: Ch 7
|
Brief Description: Rudder Final Assembly - Trim Tab
|
|
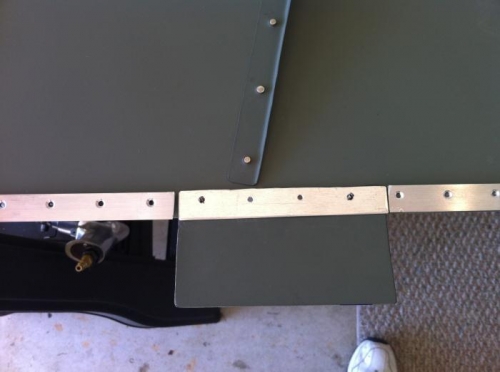
I began the rudder final assembly this morning. The one final piece of prep I had to do was to scotchbrite the trailing edge wedge. As I was doing that, I snapped it in two at its weakest point. UGH !@*&^&*^
The snap was about 2/3 of the way down the rudder. Oh well...I had a solution instantly in mind.
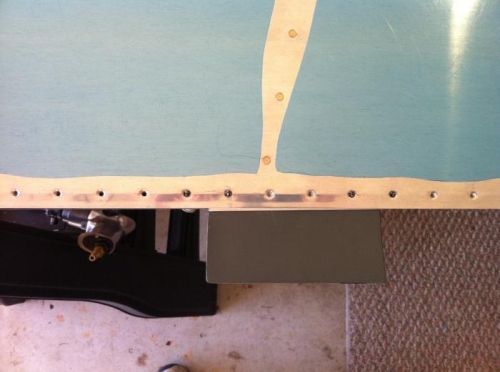
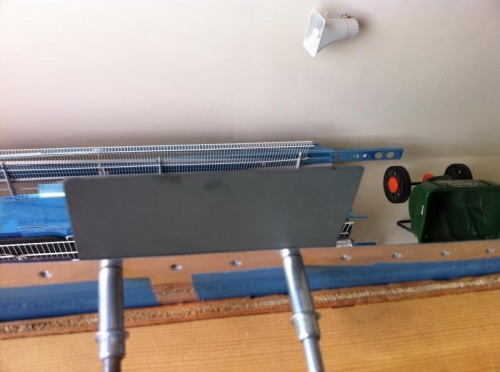
I had already fabricated a rudder trim tab that I was planning to add on to the end of the rudder towards the bottom. I had originally thought about just riviting the tab to the OUTSIDE of the rudder. Because of the snap, I decided to integrate it into the trailing edge.
Now...some discussion...
1. Why the trim tab? There's been a good bit of discussion on the boards about how the RV-10 suffers from a need for right rudder . Many builders have come up with a possible solution to this problem. I have seen some cut out a section of rudder and use an electric motor, others have used a piano hinge.
2. Why my solution of a ground-only adjustable tab? Well, after discussing the issue with my instructor at the SportAir workshop I did a few weeks ago, I thought the idea of a simple tab was the best solution. It's easy to install, easy to maintain, and takes care of MY needs. (I'm building a 4-seater "family" plane...not an acrobatic plane. All I care about is the rudder in cruise flight.
So...here we are at my solution.
BTW...I'm not worried about the gaps (see photo 1 below). Since the break occured at one of the stiffners, and the sealant/adhesive that's going to be spread, it should be plenty strong.
|
|
The tab is made of standard aluminum plate, and the striffner on top of the tab is just another spare.
|
|
|
|
|
|
|
|
|
|
|
|
|
Copyright © 2001-2024 Matronics. All Rights Reserved.
|