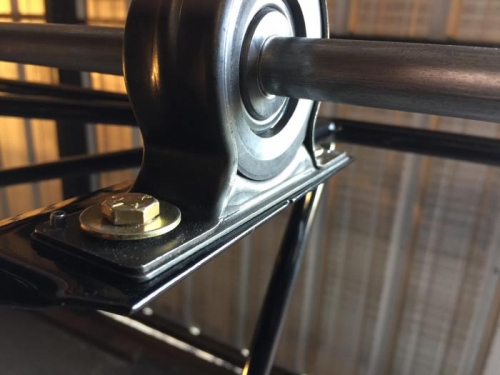
The crazy pace of the 4+ days that Tom was here ended exactly how we had hoped! The engine started and we had the blades spinning and acting like a real helicopter. Even though I hit such a huge milestone, there is still a ton of work to do before the FAA Airworthiness Inspection. The first of which was the installation of the 6th and final T/R driveshaft-bearing block that was missing. I installed it and made sure the alignment was still perfect, drilled through both the block and the tail boom and installed the split barrel pins to mark its position.
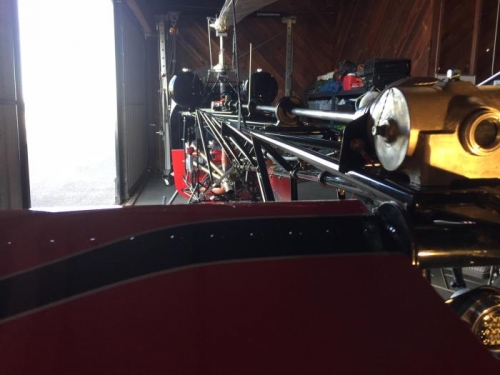
As I mentioned earlier, the drive shaft still needs to be painted, and it needs to be painted with the blocks locked in position on the shaft. I removed the bolts holding each of the blocks to the tail boom and bagged and labeled them so they would go on exactly as they came off. I am going to clean up the edges of the shims to make them a little prettier, but other than that, it will be reassembled exactly as it is. I bought a 14’x2”x4” piece of lumber to mount the drive shaft to for transportation, which worked out nicely.
After taking it to Eddie to paint, I made sure to explain that he couldn’t touch the locking pins on the shaft and that everything had to be painted as is. As usual, he was completely cool with the challenge. It should take a week or so to complete.