
|

|
|
|
Christopher's Web Site
|
Date: 3-17-2016
|
Number of Hours: 2.00
|
Manual Reference:
|
Brief Description: Engine Shroud Assemblage
|
|
One of the nice surprises from Safari was the fact that the engine shroud used to circulate cooling airflow around the engine came with laser cut and some pre-riveted and formed pieces. It was quite the puzzle to figure out how it all went together and what final sheetmetal adjustments still needed to be made, but the early yet outdated Safari Construction Manual from Canadian Home Rotors was of great help. It includes photos that bring you through the steps of the assembly. I know Safari is working to create a useable construction manual for their future customers (BADLY needed), and I hope they include a billion photos detailing what their text is trying to express. Sadly, I have build the majority of my helicopters from photos, common sense, and builder logs found on the internet (Thanks Bill M., Rick R., John K., Bill J. and of course PA Tom!).
The photos below show the “dry-fit” and I marked each of the locations where I need to install a total of 67 nut plates that will be used to assemble the shroud around the engine and aircraft frame. It is REALLY easy to drill out the wrong piece of sheetmetal, install the nut plate on the wrong side of the part, and even dimple the counter sink for the flush rivet in the wrong direction. I color code all of my tasks with Sharpie so I don’t make a mistake. So far….so good. This also gives me the opportunity to inspect all of the metal for cracks and workmanship issues.
Now to get nut plating!
|
|
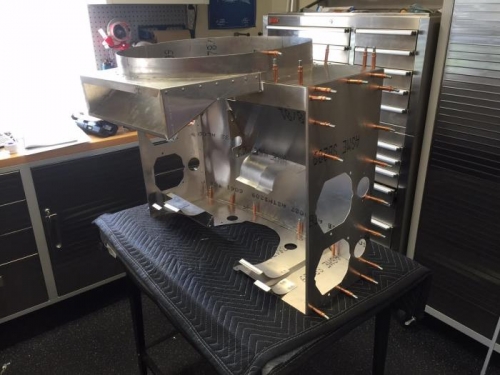
Back, towards tail boom.
|
|
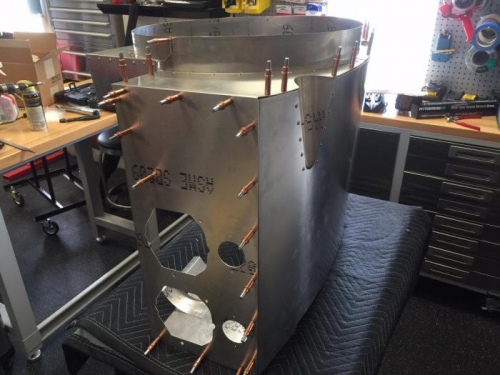
Right side
|
|
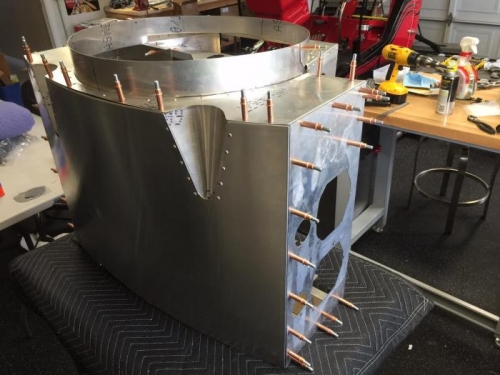
Front, towards firewall
|
|
|
|
|
|
|
|
|
Copyright © 2001-2024 Matronics. All Rights Reserved.
|