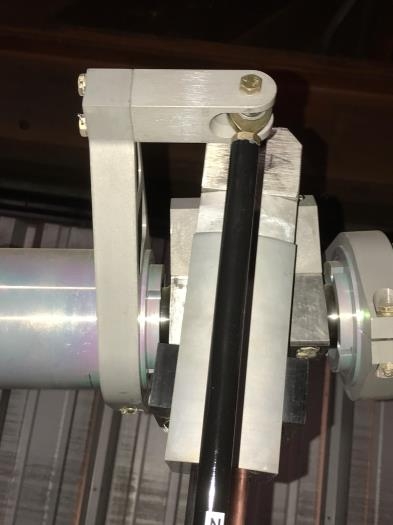
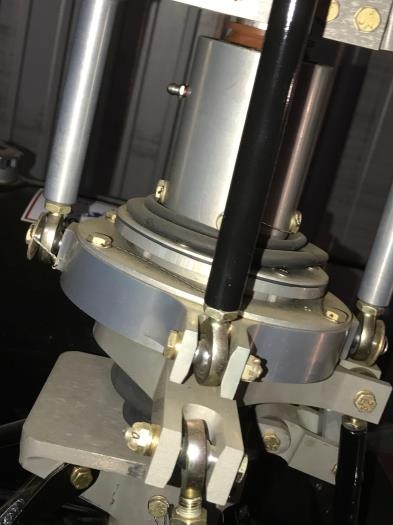
The lower swash plate was connected to the control rods that connect to the bell cranks and controls, right after the transmission was installed a few days ago. Now that the main rotor is in place, the pitch links can be connected from the upper swash plate to the pitch change arms on the main rotor.
The nice part of this installation and adjustment is that the arms use a left handed thread on one side of the link so you can just rotate the link and adjust the travel before you lock it in place. It makes the rigging process a lot easier.
This was also a two-person job because one person needs to hold the blade from rotating down and free, while the other installs the pitch change link.
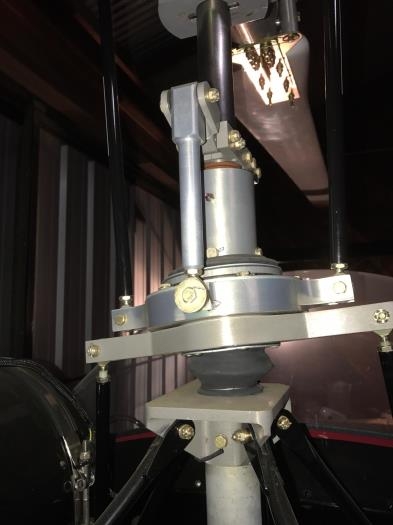
One thing I couldn’t mention above due to word/character limitations on Kitlog, is the fact that Tom machined a really cool bracket that not only mounts a big eyebolt to the main rotor head for lifting, but it also has short little links that hold the blade assembly from feathering and moving out of control. With this bracket, he could take one link off at a time, and just install the pitch change link while I held the blade at the end onto of a ladder.