
|

|
|
|
Christopher's Web Site
|
Date: 3-13-2016
|
Number of Hours: 6.00
|
Manual Reference:
|
Brief Description: Torquing, Cotter Pinning, and Joint Painting
|
|
This is one of those project tasks that’s a bummer. A necessary step, but a hassle from start to finish.
I’m beginning to look at what I need to do to close up the firewall for the last time before installing the engine. The access to the cabin is great when you can simply reach in though the back, but that won’t be an option once the engine is in place. I’m having the same concern about the wiring, whether it’s making connections, routing, or securing in place. My buddy Tom installed the engine prior to his wiring, so at least I know I can managing the remaining items even if a few tasks remain.
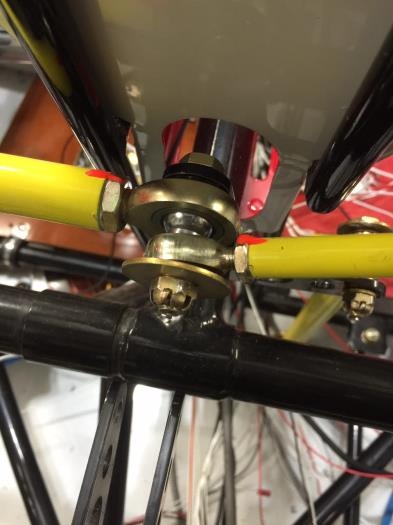
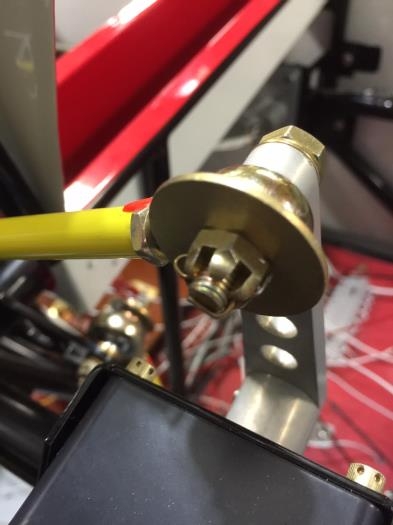
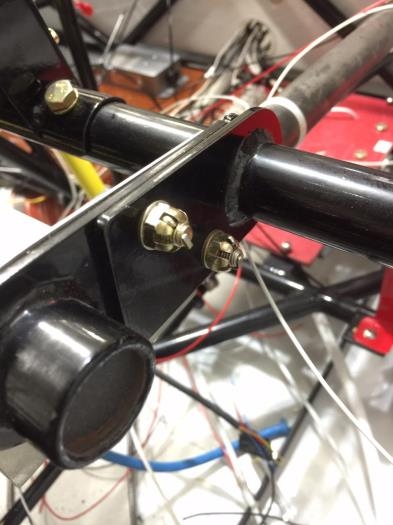
Properly torquing the miscellaneous bolts on the frame and control surfaces requires a significant amount of access since it is difficult to apply the wrench to the nut, hold the bolt, achieve the proper tension, then align the castle nut with the hole in the bolt. THEN you have to install the cotter pin, properly bend in place and snip to size. Much of this is assisted with a mirror and flashlight. I have banged my head and knuckles more than I care to report.
The next task was to adjust the control rod lengths and clearances for range of motion, tighten the hein joints, and finally paint the joints with “anti-sabotage” paint. Again, this is all easier to do before the firewall goes back on the cabin.
|
|
|
|
|
|
|
|
|
|
|
|
|
|
|
Copyright © 2001-2024 Matronics. All Rights Reserved.
|