Cliff showed up and we got to work immediately, my previous prep session was a big help. I walked through the process with him while mixing up the 1st batch of proseal. I found that 100grams of part 1 and 10grams of part 2 makes just the right amount to fill a 60ml syringe and have enough left over to butter the end of the ribs.
Next I removed the Z brackets from the baffle and placed them on the work bench in front of the proper location being very careful of the orientation.
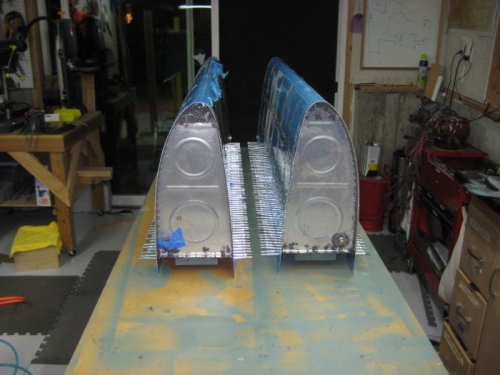
After buttering the end ribs, I took the syringe and put two beads of proseal on the long rivet line, one bead below the rivets and one on the rivet line. We slid one side of the baffle in, Cliff pulled the skin open a bit and helped maintain alignment as I set the other side of the baffle into position. next we clecod the Z brackets in place and put a cleco in ever hole alone the side.
I rinsed off each of the rivets in some MEK and then we started installing the blind rivets. As I tried to set the 1st rivet I realized that the blind rivet tool wasn't going to to fit, I turned around and ground down the head of the tool to clear the Z bracket. After installing the blind rivets we then set the -4 solid rivets on the ends with a combination of the pneumatic squeezer and the rivet gun/bar. The -3's will sit overnight and get riveted in the next working session.
It was a lot of work and I was really happy to have another set of hands.