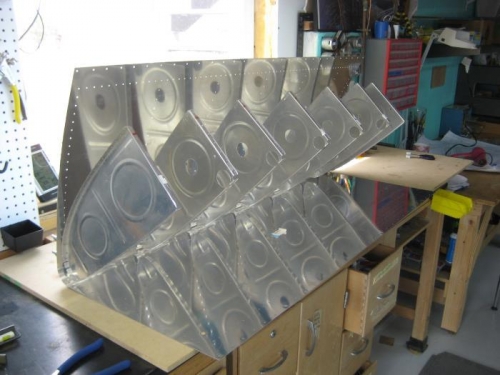
I started today by reading more about the "Checkoway method" for tank assembly. The best resource I found for this method is the buid site from Jason Beavers RV7.
I followed the instruction for the assembling the tanks(celocing the ribs to the skin) and it worked.
1. Cleco the topside leading edge, then work your way from the leeading edge to towards the rear and put in clecos. I placed 2 on the leading edge and then one every third rivet.
2. Put the leading edge on something that wil protect it but that you can push it down into. In my case I used the rubber floor matts in my shop.
3. Push the end rib of your choice into the leading edge with the trailing edge of the rib.
4. if you are pushing hard enough the holes on the bottom side will be very close, cleco them together at the trailing edge. I found it easiet for the 1st cleco to go from the rib to the skin, the rest all went from the skin to the rib
5. Once that first cleco is in I placed a couple of more to make sure it was solid.
6. Move to the next rib and repeat. They get easier as you go.
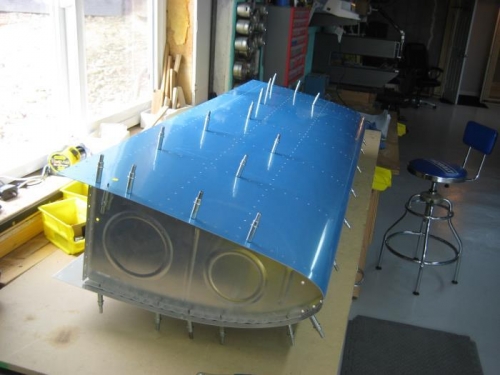
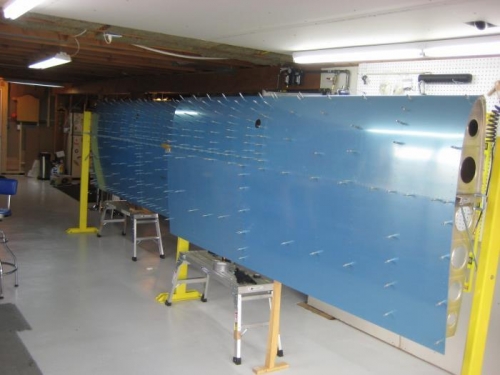
It does take a fair amount of effort to push the ribs into the skin for the first few clecos but then it goes fast. The tanks are assembled for fitting and now sitting on the spar.