
|

|
|
|
Rogers Web Site
|
Date: 2-14-2016
|
Number of Hours: 4.00
|
Manual Reference: 8-35
|
Brief Description: Final assembly of the fuselage
|
|
The Fire Barrier 2000+ I'd ordered arrived yesterday, along with some tools. So I removed the front skins, so I could apply the 1/8th bead of fire barrier sealer to the mating surfaces of th efront skins and firewall. Actually my beads were a tad bigger than 1/8th inch, but a little extra wont hurt. Both front skins already had the F-844 aux longerons, F-802 spacers and F-802 LG box plates cleacoed to them. I then clecoed both front skins back onto th efuselage carefully avoiding spreading the asmearing the fire barrier. I placed a cleco in each rivet hole common with the skins and firewall.
I then freed the mid side skins and blind riveted the two MSP-42 blind rivets on each side.
I clecoed the F-848 Upper longerons gusset, F-846-1 gusset and F-845-1 gusset on each side of the fuselage.
I removed the F-870-1fwd baggage floor, F-871-1 fwd baggage side, F-866a-1 lower fwd baggage bulkhead and F-866b-1 upper baggage bulkhead. this is done to improve access for riveting the fwd fuse together.
I added ballast to the fwd fuselage, in preperation for attaching the rear fuselage parts to the fwd. Actually I'd already done this as the fuse makes a perfect store place/tool chest.
I clecoed the F-807 bulkhead in place. Next I have to rivet it to the outboard seat ribs.
|
|
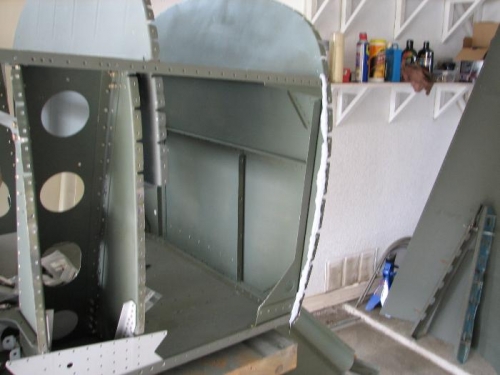
Fire Barrier 2000+ bead on the firewall.
|
|
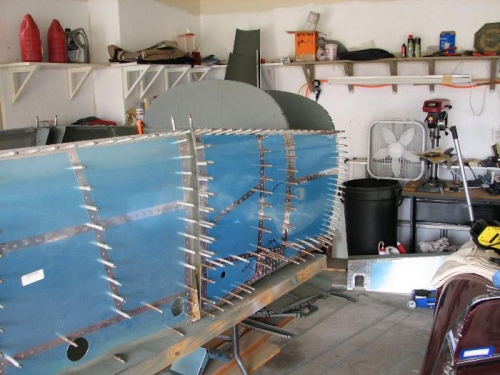
Front right skin on, ready for riveting.
|
|
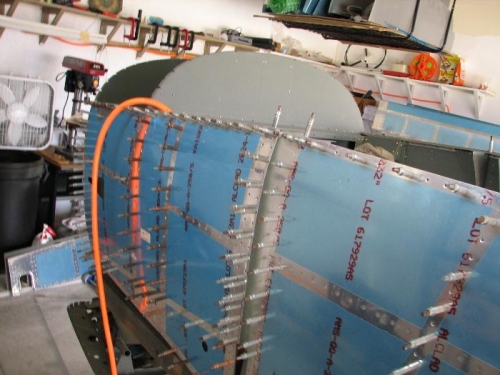
Front left skin on, ready for riveting.
|
|
|
|
|
|
|
|
|
Copyright © 2001-2024 Matronics. All Rights Reserved.
|