
|

|
|
|
Dave's RV-7A Builder's Log
|
Date: 6-10-2017
|
Number of Hours: 5.00
|
Manual Reference:
|
Brief Description: Windshield & canopy fairing work
|
|
Today was the day that I’d hoped to get the final contour sanding done and move on to the finishing stage. At some point I know I will be done with this fairing, but it’s starting to seem like the baffle project…never ending. During the last session I had applied a coat of epoxy to fill in some of the voids, so I started by using 60 grit paper on the whole fairing to sand down to as level a surface as I could get. Since the fairing goes from an inside radius in the front, to an almost flat surface along the sides, to an outside radius over the top, I made a number of different sanding blocks to handle the various applications. Once I had sanded everything to a contour, I scuffed the low spots to prep for filling with Bondo. The advantage of using Bondo is that it can be sanded in 30 minutes, so I mixed it up and applied it everywhere I needed to fill in some voids. After waiting the requisite time, I once again sanded with 60 grit and finally got to the point where the surface was pretty much what I needed for the final coats.
The next step was to use raw epoxy to build up enough that any small voids or pinholes would be filled, and sanding with 100 or 120 grit would make an optically smooth surface. To do this I mixed up a batch of epoxy and brushed it on, waiting about 10 minutes and then using a squeegee to remove the excess. After another 10 minutes or so, I brushed out the ridges and then let it set up to a tacky surface. Then I repeated the whole process. After this all cures I should have enough epoxy built up to sand carefully down to eliminate any voids, and then will use a high build primer to finish the whole thing off. At least that is the plan…
|
|
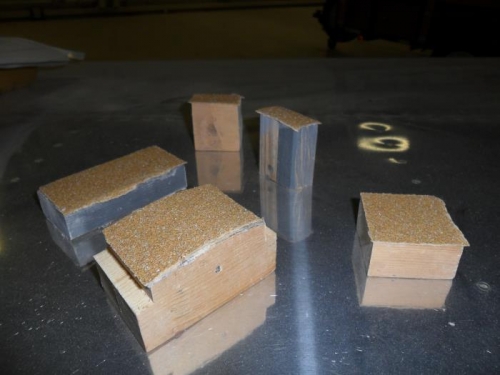
An assortment of sanding blocks
|
|
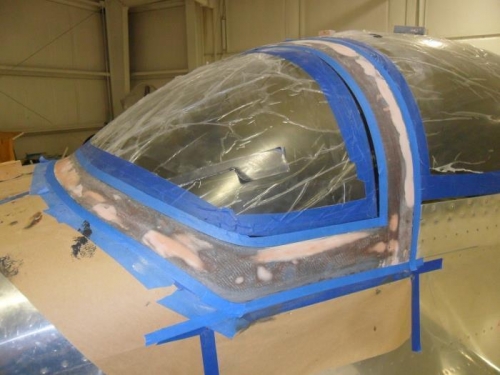
Final contour sanding complete
|
|
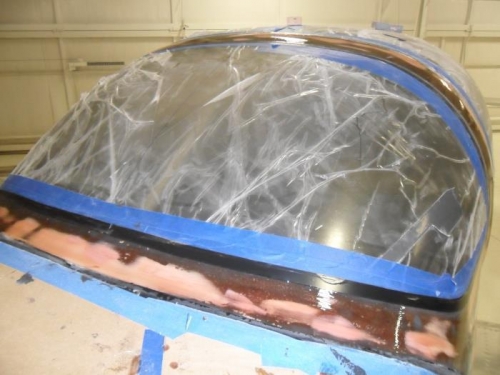
Second skim coat of epoxy applied
|
|
|
|
|
|
|
|
|
Copyright © 2001-2025 Matronics. All Rights Reserved.
|