
|

|
|
|
ROBERT'S WEB SITE
|
Date: 6-17-2012
|
Number of Hours: 4.00
|
Manual Reference:
|
Brief Description: Rear Spar riveting
|
|
Put the final coat of primer on the rear spar assemble parts. I have been having a problem with the primer flaking off occasionally in isolated areas. Not sure what I’m doing wrong – not cleaned well? Primer too thick? Scuffed the bad spots out, cleaned them with lacquer thinner and put on new primer. While the primer was drying, I started working on the ribs. Yikes, there are a lot of them. I started prepping the main ribs. I experimented with a few different approaches on finishing the edges. Not sure I’ve got my technique established yet but I did complete three of the main ribs. I tried starting with the edge deburring tool, but I’m not sure that buys much for the effort. I used my bench sander to knock down the edges, then used the 6” scotch bright wheel on the edges, then with the 2” scotch bright wheel in the drill press I did the inside of the lightening holes. I also used some rough sandpaper and scotch bright pads to get into the slots between the flanges. Not looking forward to the rest of these.
Then I started riveting the rear spar assembly with the squeezer. Many holes are not riveted at this point as other parts (ribs, flaps, aileron brackets, etc,.) will share these holes later. The plans are good at identifying what to rivet. Three different AN470AD4 rivet lengths are used - 4’s, 6’s, and 8’s. Got most of one side done before calling it a day. I had to drill out two rivets: one that I set in a hole that needed to remain open, and the other I managed to smear the shop head.
|
|
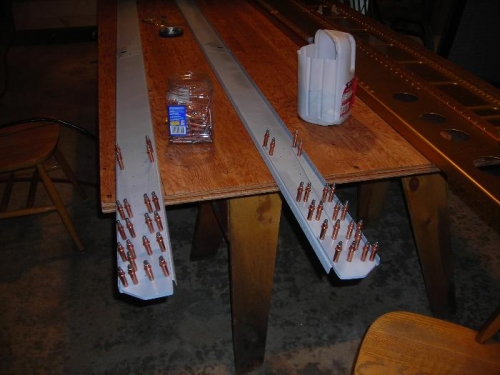
Rear spar and doublers
|
|
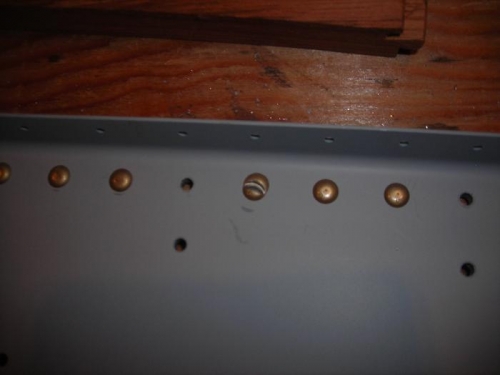
One bad rivet
|
|
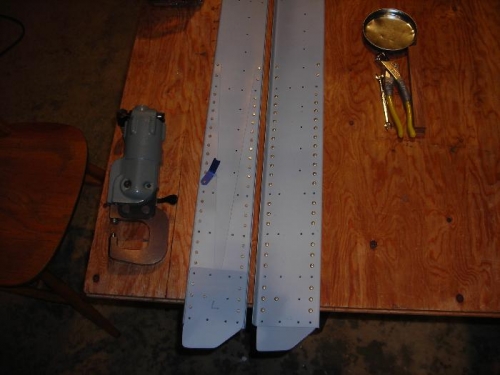
Front and back - looks good
|
|
|
|
|
|
|
|
|
Copyright © 2001-2024 Matronics. All Rights Reserved.
|