This was the same process as on the right aileron. I didn’t finish partly due to a couple bad rivets I had to replace.
First, rivet the spar doublers to the spar (including the plate nut), rivet the nose ribs to the pipe, then rivet the nose ribs to the spar. The first bad rivet was one of the nose ribs to the spar. I think the squeezer got hung up on one of the clecos and ended up hitting the rivet at an angle. The result was a skewed rivet. It was a little tough drilling it out because there was no access to the manufactured head with the drill, but I got it out without damaging anything. Next, the aft skin was clecoed on and Pauline and I riveted the top side flush rivets. The very first rivet I had to replace. It was too short and therefore didn’t form an acceptable shop head. We went up one half size rivet for the rest of them (4's v s3.5’s I think). Next the upper rivets in the nose and main ribs were squeezed. The “no-hole” yoke was just able to fit the narrow tip of the main rib. Then the assembly was flipped over, clecoed together, and weighed down as before using a flat board and a couple big boxes of nails. I finished this shop session by pulling the nose skin to counterweight pipe rivets.
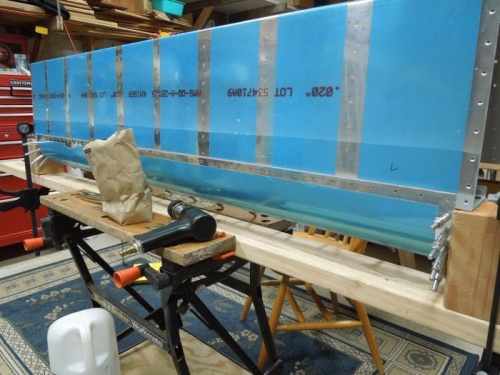
The "rig" for riveting the top side flush rivets
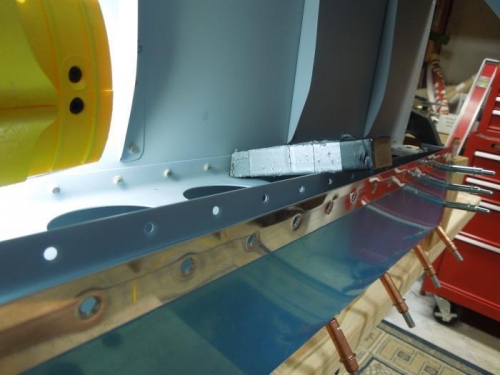
Tungsten bucking bar in place for the top flush rivets