Brief Description: Right Aileron assembly and riveting 2
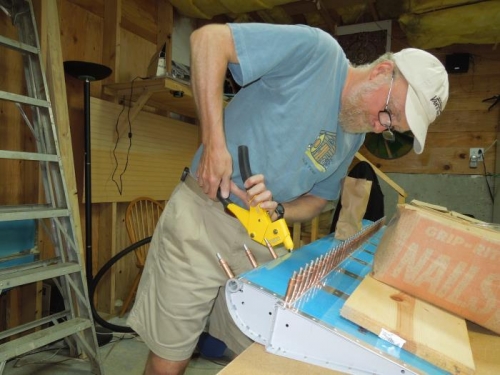
Once the top edge was riveted, it was easy to squeeze the top edge rivets in the nose ribs and rivet the main ribs to the spar. Next the aileron was laid flat on the workbench and wieghed down to ensure is comes out flat. The blind rivets for the pipe were next and bottom edge of the nose skin. I ended up re-drilling the bottom of the main rib on the outboard side as the holes didn't quite line up when the aileron was flat. Re-dimpling kept the rivets straight. I finished up with all the pulled rivets on the bottom of the spar.
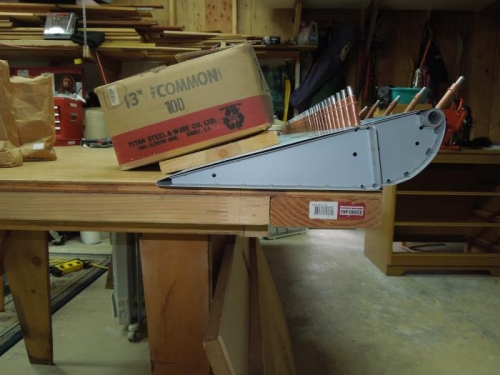
Ensuring the aileron is good and flat before riveting
Two heavy boxes of nails and a piece of shelving board holds it flat
Pulling blind rivets - leading edge skin to the iron pipe