Brief Description: Capacitve Fuel indication system
I dug out the kit for the capacitive fuel system and read through the plans and drawings. I started on the right outboard plate installation by locating the aft edge location per drawing (4.5"). I then made a tool out of a bit of scrap to mark on the rib the 3/16" clearance required (I must of seen this in an EAA tip somewhere). The tool is l-shaped with a 1/16" hole drilled for the sharpie. The hole is offset 3/16" per the clearance requirement. I then used this tool to trace an outline on the rib. Then I took the plate over to the sander/scotch bright wheel and worked the plate upper and lower edges to match or exceed the outline traced on the rib. Next I clamped up the plate to the rib and matched drilled with an #21 bit. The plans call for a #20, but I don't have that size so I opened up the plate hole a bit with the #21. The rib holes were then opened up to 1/4" on the drill press. I then installed the nut plates and did a trial fit. More triming was required to maintain the 3/16" clearance to the tank stiffeners. I then started on the right inboard plate installation but didn't get too far on it.
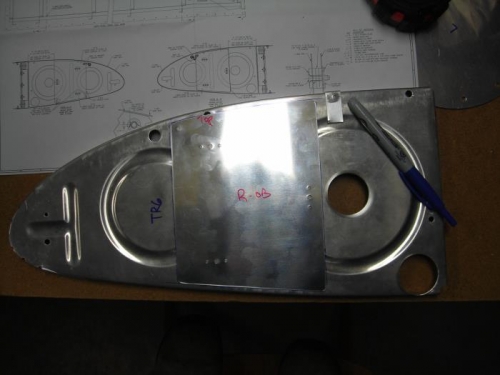
Plate located on rib. Marking tool shown next to sharpie
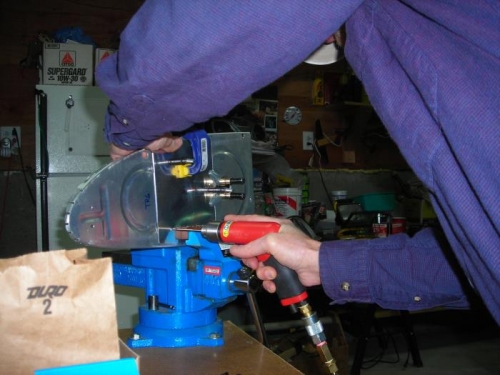
Match drilling the rib
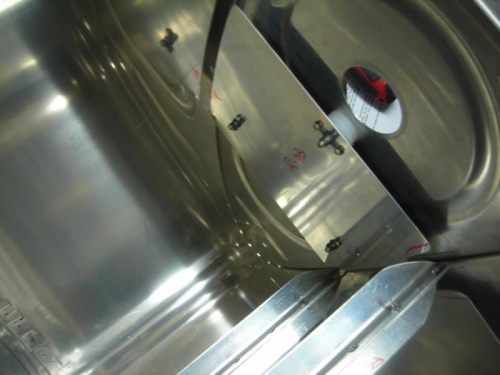
Assembly trial fit. Lower aft corner of plate needs more trimming to meeting the 3/16" clearance