Brief Description: Left Tank Joint plate and Z-bracket final drilling
Friday night I finished by placing the assembled left tank on the wing. Today I started by strapping the left tank to spar and checking all of the skin to skin gaps between the tank and outboard LE. It looked real good to me. The only thing I noticed was that the Tank skin was proud of the LE skin at the joint plate. Thinking about it, I concluded that this is the only way it can be - because the tank skin is thicker then the outboard LE skin (and they are both outside the joint plate). I used some copper clecos in the tank to spar plate nut holes to help align the tank also.
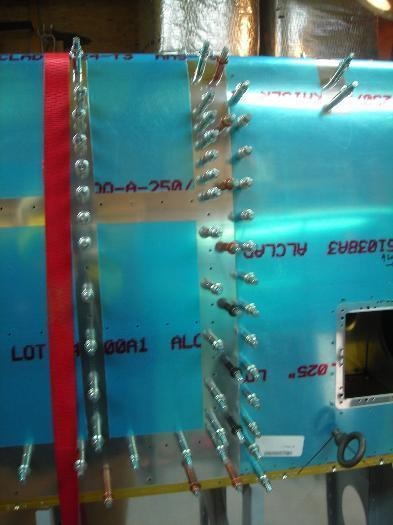
Next I match drilled the joint plate screw holes for attaching the tank. I started with a #30 bit and then drilled again to final size with a #19 bit. Copper then black Clecos to hold it together.
Then I moved to the inboard end of the spar and drilled the inboard rib/baffle/z-bracket holes. With the long #30 and a little bending of the bit it worked out just fine.
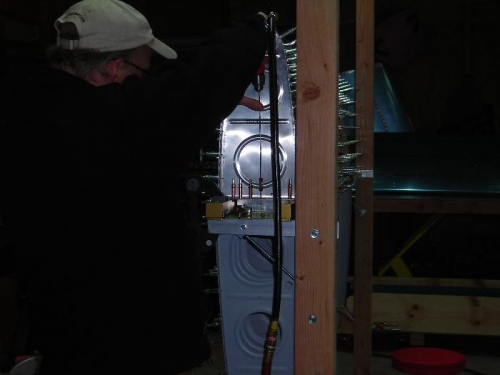
Next, I removed the outboard leading edge with the exception of the most inboard LE rib and joint plate. I reached in and secured the tank rib to z bracket with a few clamping clecos. Then I removed the LE rib and splice plate. Finally, I drilled the rib/baffle/z-bracket holes.
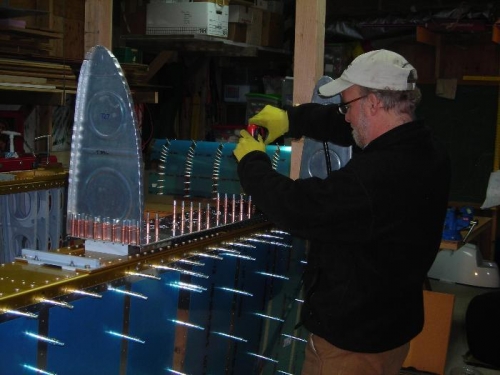
With both ends secure, the next step is to remove the tank skin and interior ribs to provide access to drill the remaining baffle to z-bracket holes. Before doing that I decided to match drill all of the holes for the inboard and outboard tank ribs and the skin/baffle holes. It's a tough job working the clecos in and out of the pilot holes before drilling. I might as well drill them now and make it easier on myself.
Next job is to put the tank back together and complete the remaining match drilling.
With the tank finally off, I match drilled the remaining baffle/z-brackets. After cleaning up a bit and removing the baffle, the z-bracket holes looked really good. The "Checkoway method" is certainly the way to go on these.
One thing I told myself to remember on the next tan