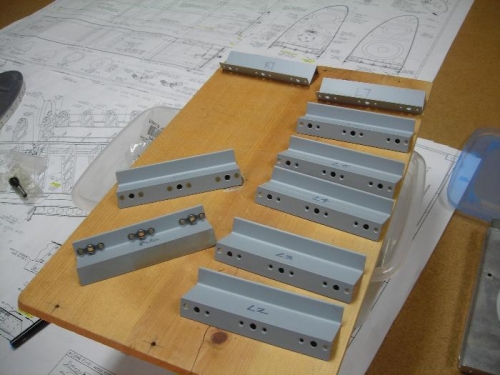
The Z-bracket fabrication is now done. I scrubbed all of the Z brackets that get plate nuts installed. I then gave them a quick scrub with metal prep. Then I treated them with alodyn. Finally I primed them with the trusty SEM rattle can primer. I avoided the flange that mates to the tank rear baffle. Avoided is the right word, I'll need to clean them up some with laquer thinner to get a good bond for the pull rivets with the tank sealant.
Plate nut installation was next and straightforward. I put on two and checked the bolt travel through the flange hole and into the plate nut. There was some binding because the plate nut has some alighnment variability with the hole after it has been riveted. I decided to open up all the #12 holes an additional 1/16" in diameter with a 13/64" drill bit. I got this solution from another builders log.
I mounted about half of the brackets on both spars. I need some more #10 screws from the hardware store.
Z Brackets primed and a couple with plate nuts installed