
|

|
|
|
ROBERT'S WEB SITE
|
Date: 9-6-2011
|
Number of Hours: 6.00
|
Manual Reference:
|
Brief Description: Rudder Assembly and drilling
|
|
I took the day off today from work (day after labor day) and put in a pretty much a full day.
Clecoed the skins on to the Rudder skeleton. Final drilled skin/ribs/spar/trailing edge on both sides. I’ve put off back riveting the stiffeners to the skins as the plans call out. I was leaning this way in any case to save some wear and tear on the primer on the inside of the skins. When I saw the same approach on another (repeat) builder’s site I figured it was OK.
-Trimmed rudder brace, clecoed it in, and final drilled
-Fabricated lower fairing attach strips, clecoed and final drilled
-Started the disassembly of the rudder. Deburring, edge finishing, and dimpling as parts were removed
Lower fairing attach strips
Rudder horn, brace, shim, re-enforcing plate
Lower rib
It was bound to happen sooner or later. While pneumatically dimpling, I punched a new hole in the rib flange. This created an oblong hole in the flange. A quick note to Van’s tech support with this picture and I got the reply I was hoping for. The lower fairing attach strip acts as a doubler in this case and no part replacement is required. Build on!
I used my new close quarters dimpling tool on the three most aft holes. The thin female dimple die and the male die in the rivet gun makes a pretty good dimple. Got this from Cleveland Tools. EAA has a nice video on how this works.
-Trailing edge strip removed – haven’t counter sunk it yet. I need to practice on the Van’s wing section training kit first. I think it is the same stock material, so I can use that to get the countersink set up right.
-Right side rudder skin
-Called it a night. William needed a little help getting the bed frame pieces collected. He moves into his off campus housing tomorrow.
|
|
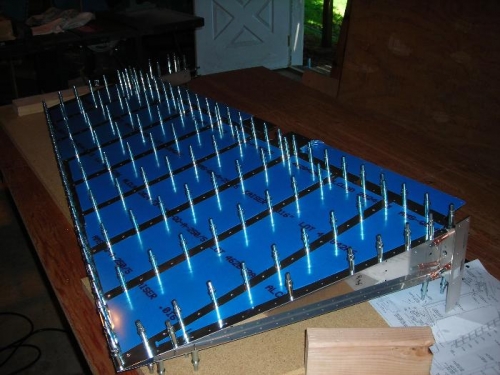
Skins on
|
|
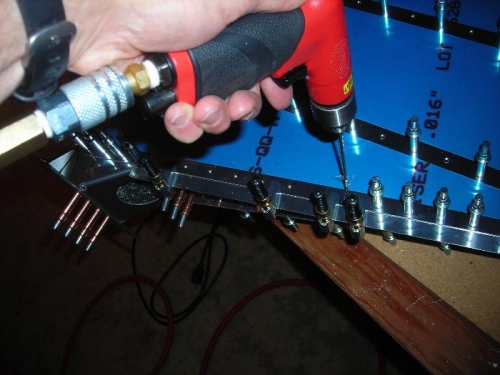
drilling the lower fairing attach strip
|
|
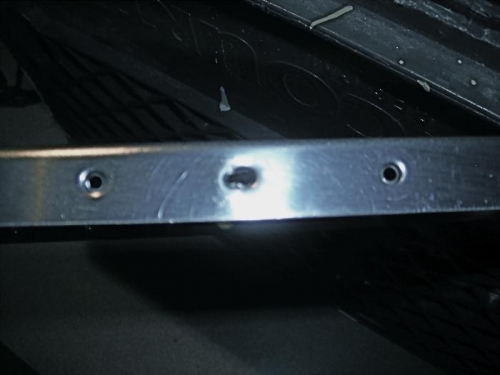
Uh-oh
|
|
|
|
|
|
|
|
|
Copyright © 2001-2024 Matronics. All Rights Reserved.
|