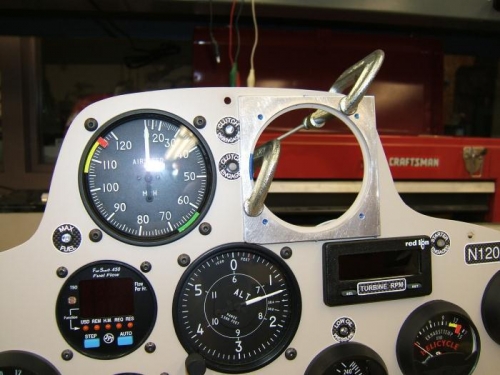
While I'm still waiting for the factory checkout I decided to go ahead and install a much better rotor tach than came with the kit. The new tach is a dual needle, stepper motor tach custom made for the Helicycle. However, the original tach I had installed was a front mount with a smaller diameter case than the standard 3-1/8" rear mount which the new tach is. So, I had to enlarge the hole from about 2-7/8" to 3-1/8".
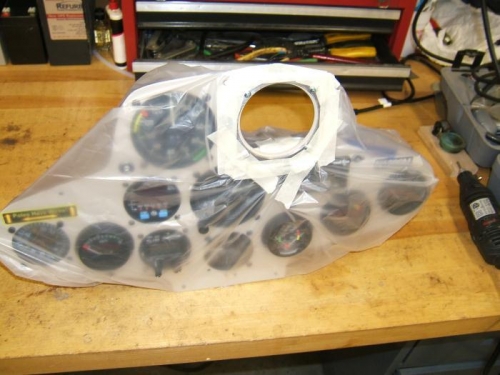
To accomplish this without completely disassembling the panel, I made up a template from 1/8" aluminum, positioned and clamped it to the front of the panel, match drilled the four holes and screwed the template down. Bagged the panel and taped around the hole to keep the fine shavings from getting into any of the instruments.
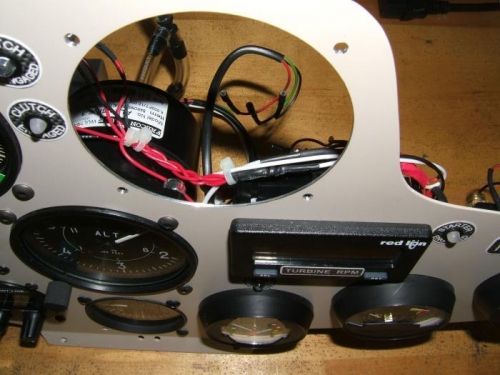
Used a Dremel with a rotary cutter to get close to the template then used a sanding drum in the drill to get the final smooth hole.