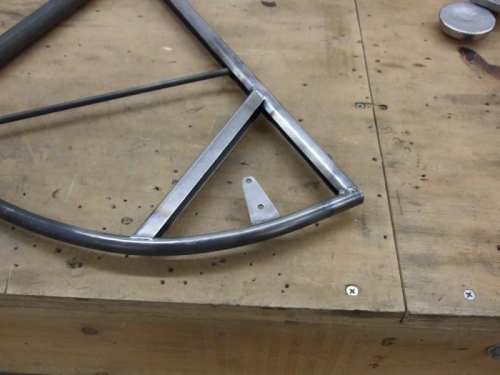
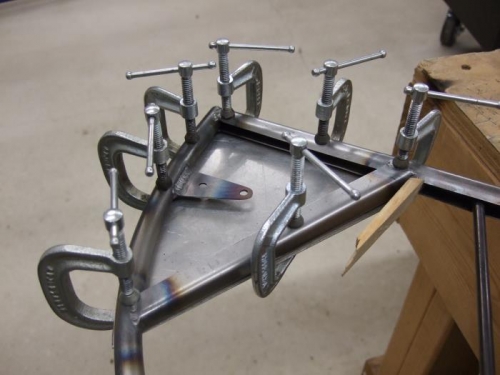
I’ve learned to trust the plans and I took a cue from Eric Newton about this. I welded a tapered rib, the backside being exactly five inches (weight location per the plans) from the tip of the elevator and parallel to the spar to help capture the lead and keep it in place. I also wanted to weld a tab that would be inside the lead when poured to help secure it. I’m not too fond of the long wood screws Bob shows in the plans so I took a reject elevator trim horn out of the scrap pile, cut it in two and welded the halves on the inside of the elevator tip. Once that was done I cut a plate of aluminum for the pour and clamped it in place without anything as a gasket. Ron Jones on his build log said it wasn’t necessary. Wrong answer! As I poured the lead, it was hot enough to warp the aluminum and the lead ran out! That wasn’t too bad because I prepared for any spill. I just took it apart, melted out and recaptured the remaining lead with my oxy torch and redid it all with a steel plate and that was the ticket. He was right, I just needed to use steel. Besides, I didn’t want any residual RTV silicone messing up the paint later on.