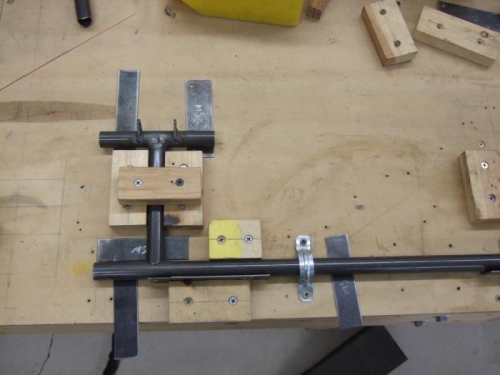
A good day in the shop. I was able to take the pedals and weld three of the four in place. The jig worked great for tacking and I did a four-tack before welding. I took the assembly out of the jig for final welding. Because of the tabs on the backs of the pedals for the brake pedals, I had to jig it like I was looking from the firewall aft. All the metal slips are 1/16th for shimming the difference between the 3/4in diameter pedal tubing ands the 7/8ths main tube. The tabs at the V gave me a place to gtround the TIG.
The second pic is of the pedal that gets tacked on the 3/4in tube. I shimmed everything because the weld bead at the T at the top of the pedal didn't allow it to sit flush. I shimmed the whole thing and worked fine. If you notice there are two slips of metal at the horizontal tube. That's because I first tacked the 7/8ths tube, then the 3/4. The shims take up the slack...pretty slick.
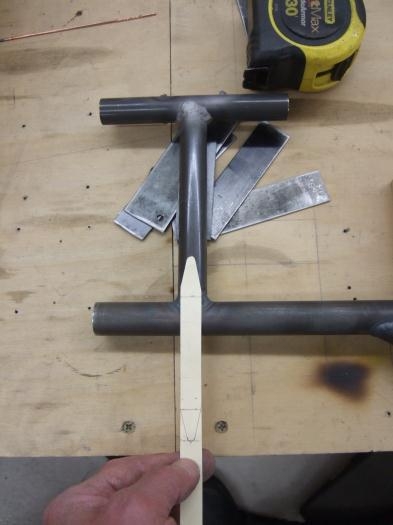
The last pic is the template I made for the straps. I first made the straps that wrap the 7/8ths tube because they are longer. I then cut the template to fit the 3/4in tube.