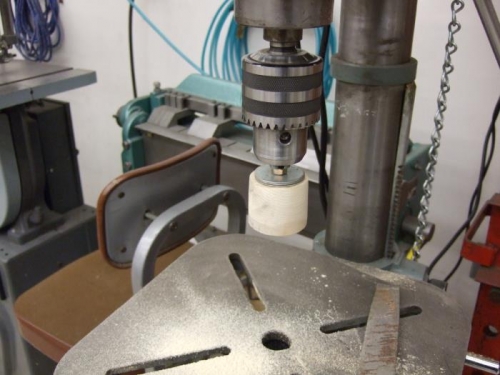
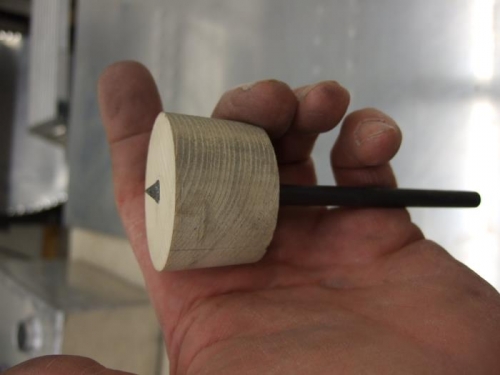
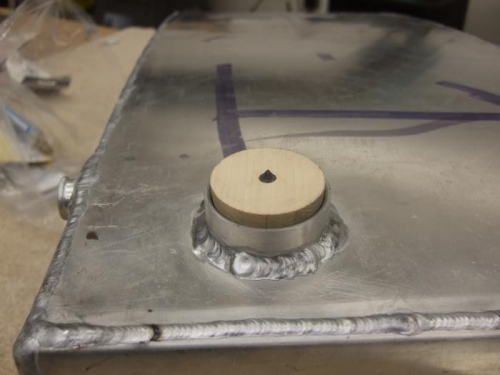
Well, I finally bit the bullet and called in reinforcements. I need to have a hand in finishing the project, especially the wings as nothing has been done with them. Jim is an experienced mechanic and will get things on the road again. He and another helper started on the wings and the tank installation. I’m doing some of the grunt work and he’s doing the finessing. He got the tank straps together and fit the tanks in the wings. One thing I did do was make a witness punch for where to drill the hole for the filler neck. This is an idea from Georg Himmeroeder and his project. It’s kind of similar. I took a 2 inch hole saw and cut a plug out of a chunk of wood. The arbor has a 1/4in pilot bit, so I ran a long 1/4in bolt through the resulting hole in the plug and used that to chuck up in my drill press and use it like a lathe. Once the plug vee profile was shaped with a coarse file I took a centering punch and placed it in the middle with just the tip poking out. One whack with a hammer places an accurate witness mark on the skin and the hole can be accurately placed. It worked great.