
|

|
|
|
Alaskan Bearhawk
|
Date: 4-17-2008
|
Number of Hours: 1.00
|
Manual Reference:
|
Brief Description: Assembling the tail wheel
|
|
Today I was playing catch-up taking care of things before I leave for two weeks. I did do a little on the airplane by assembling the tail wheel.
The designer of the Bearhawk (Bob Barrows) wasn't satisfied with other tail wheel designs, so he designed and built his own. The tail wheel is incredibly strong and will last a long, long time. He sells the plan for the tail wheel and I did buy a copy in the hopes of making my own as well. I'm tired of the Scott 3200 monopoly and Bob's design is simple and the wear parts can be bought just about anywhere. There is a talented guy named Scott Weinberg that is manufacturing and selling the tail wheel for the experimental market. I first met Scott at OSH 2005 and he had an example of the tail wheel there. After seeing the quality of the workmanship, it was a no-brainer and I went ahead and bought one. http://www.irondesign-airparts.com/
It was really easy to put together. I didn't want to paint the wheel, so I went ahead with the assembly. First, I cleaned all the parts. I then sprayed the wheel halves with CorrosionX and wiped them down. I put a little anti-sieze where the where the wheel flanges meet in the middle. One side has a step machined and the other has a shoulder and both mate tightly in the middle. If that ever corrodes, it would be a problem getting it back apart. After that, it was just a matter of packing the bearings, putting the wheel together, adding the bearings and spacers and sliding the axle through. I used AN4-22A bolts and self-locking nuts for joining the wheel halves.
|
|

All the parts, ready to go
|
|
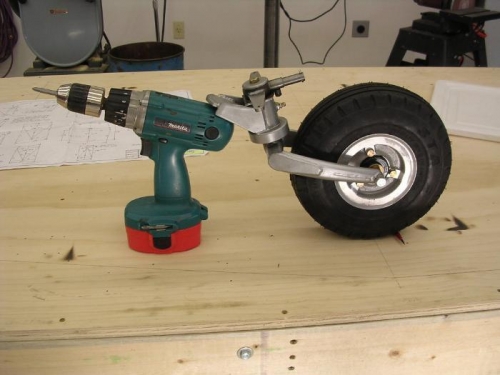
Tail-dragger Makita
|
|
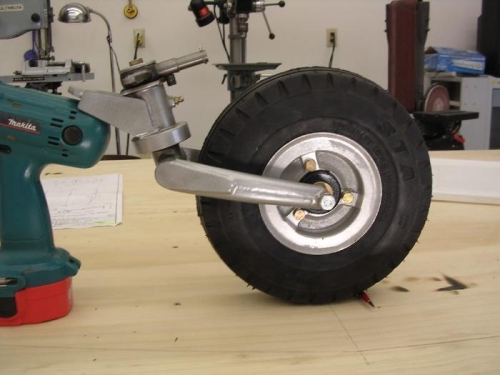
Close-up
|
|
|
|
|
|
|
|
|
Copyright © 2001-2024 Matronics. All Rights Reserved.
|