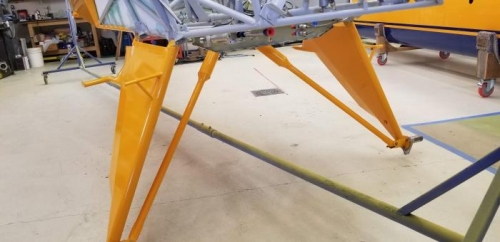
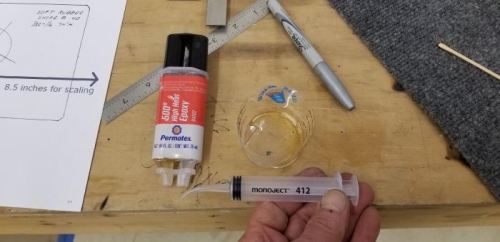
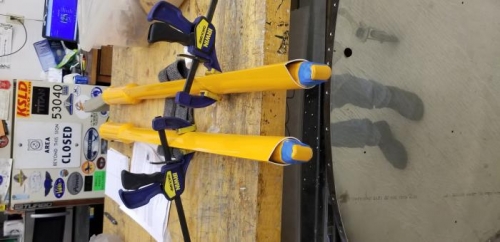
I started by installing the struts and landing gear so I could get a good approximation as to how best angle the streamlined tubing with the struts in relation to the airflow. Once I got them marked, I took them off and then fit them to the strut. The top part of the tubing was fishmouthed to fit nicely where the tube transitions into the piston tube. It went really easy, just taking a bit off at a time. It wasn’t difficult at all. Next was to glue them in place. I was a bit skeptical about gluing them so I called Mark Goldberg to confirm. He did say this was acceptable and actually worked quite well. He did say to use a high-temp epoxy because the exhaust will soften regular epoxy. This happened on his, so it was good advice. Rob Taylor gave me a few of these MonoJect disposable syringes to apply the epoxy in each end. They worked really well and before you know it I had two completed shock struts! I put some tape around where the epoxy might migrate to just to mask it off and roughed up the paint just a bit with sandpaper to break the shine. I left the bottoms open so any moisture wouldn’t cause any problems.