Today was the first day that I really started my outdoor projects. I live in Alaska. That means that all the stuff that people normally can do 9-10 months out of the year, Alaskans have 5 months. So, for me that means less build time on the Bearhawk and more work around the house...just a fair warning to the few that are following the progress of my project. The posts may be getting few and far between!
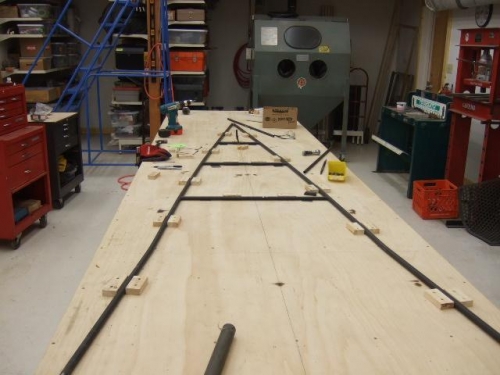
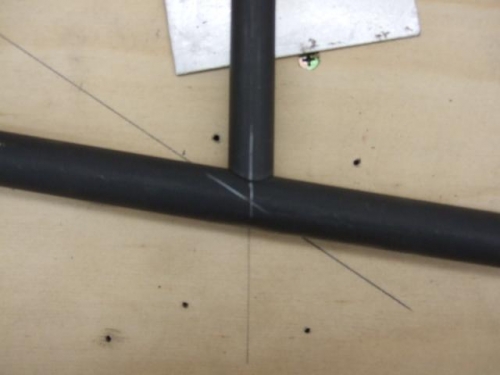
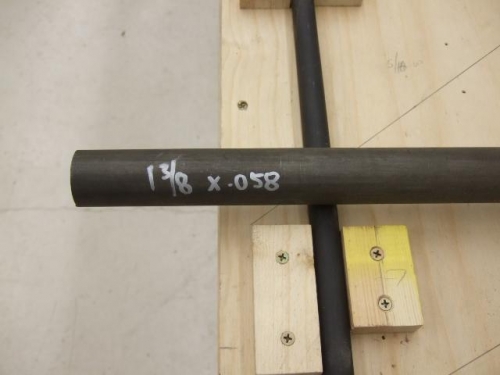
Today, I started on the cross tubes for the fuselage top. I'm using the same method I used before. I have 1/16th steel shims for under the 5/8ths crosstubes to get them up to the centerline of the 3/4in longerons. I marked the tubing centerlines with a welding pencil, just like the fuselage bottom. The only difference this time is I'm going to first fit the smaller tubing and same diameter tubing with the longerons flat on the table. There is a HUGE piece of 1 3/8ths by .058 tubing that is the carry-through for the front wing spar. That will take some gymnastics with shims, so I want everything fit right before I have to center that big honker. The plan is once everything is fit, I will take out all the shims and lay the longerons flat again. Then, I'll tack the tubing in the same sequence I fit the tubing. This should ensure a nice fuselage top.
There are some angles in the longerons that are made when the top is in the jig, as well as some tubing, so that is why there will be a big blank spot in the center of the fuselage top. That will be cut and fit when it's in the jig.