
|

|
|
|
Alaskan Bearhawk
|
Date: 12-7-2008
|
Number of Hours: 2.00
|
Manual Reference:
|
Brief Description: Aligning the top with the bottom Part 1
|
|
Today, I aligned the fuselage top and bottom. This, at least for me, is a critical step as it determines the basic shape of the fuselage. I bent the bottom parts of the fuselage a few days ago, but I double checked everything with a machinist's square and plumb-bob at the tail.
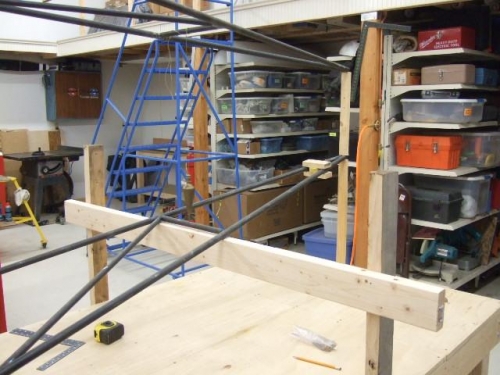
Once I verified the bottom was where it should be, I started on the top. I read and reread Russ Erb’s CD and Eric Newton’s manuals and BearTracks to see where to go next in aligning the fuselage parts in 3D space. I have to admit, even though I double-checked everything when I was tacking the parts together, I was a bit apprehensive because this is where everything starts coming together. Even though I really knew what I wanted, I really didn’t know what to tackle first. There were three axes I needed to align: The front to back, the vertical component of each station and the lateral alignment. I started with the lateral alignment. I marked the station P top cross tube at the middle. Using a plumb-bob, I aligned the center top to centerline at the bottom. I then did the same at Station N. That gave me two longitudinal points relatively far apart, so the tail should be very close. Since station J near the tail is the only true vertical station on the fuselage, I marked the top tube and verified the bottom tube centerline. I then put a spacer cut to the correct height in at the tail, since the weight of the plumb-bob would pull the two fuselage halves out of alignment. I then put a plumb-bob on station J and checked the centerlines with each other. Since I eyeballed it before, it was very close.
|
|
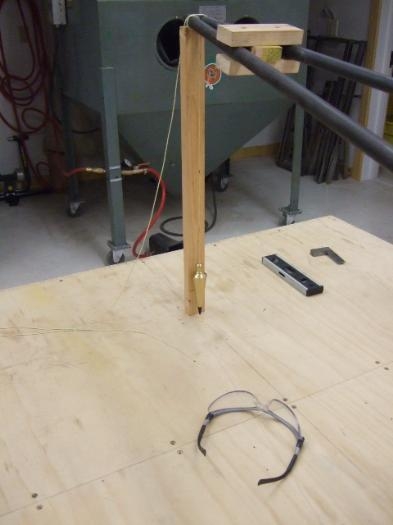
Verifying the bottom alignment
|
|
Tail spacers
|
|
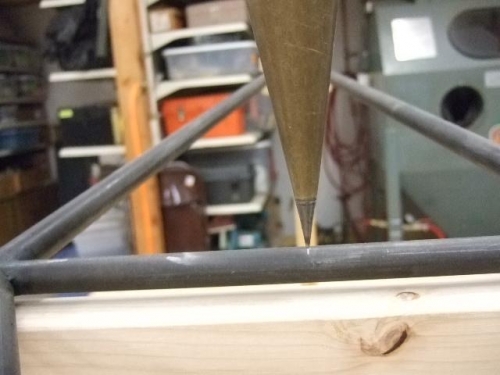
On the middle mark
|
|
|
|
|
|
|
|
|
Copyright © 2001-2024 Matronics. All Rights Reserved.
|