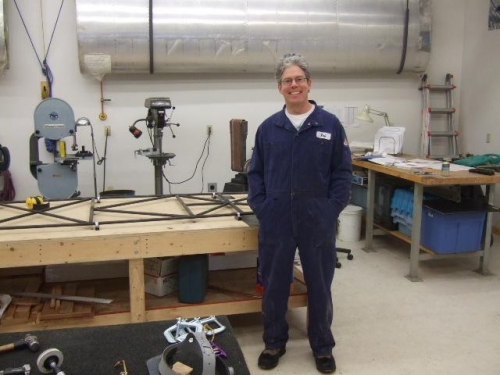
Today was another good day. I enlisted the help of a fellow BH builder and good friend, Rob Taylor. Rob is building a BH and has the complete AviPro kit…and works cheap!
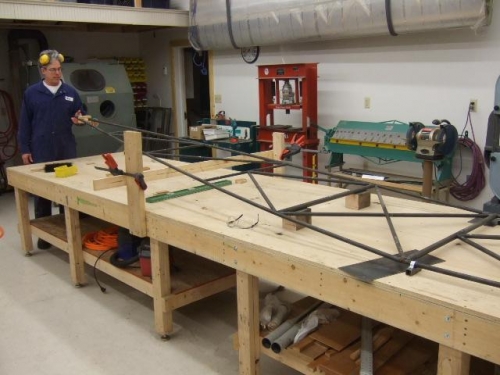
This is an operation where it's recommended to have two people do the work. One to heat the tubing and one to do the bending.. Actually, it worked out quite well. As was recommended by other builders, I raised the bottom of the fuselage by using 1 inch square steel tubing to accommodate the heating of the longerons for the bending. The process is described in detail on my previous post.
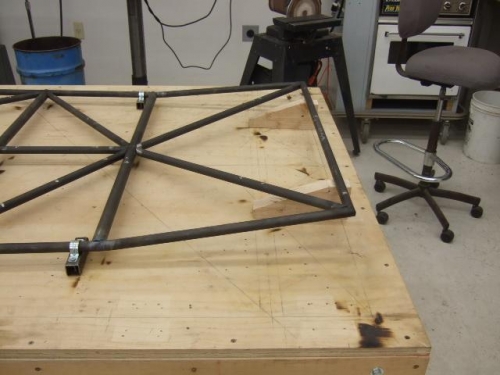
I put the biggest tip on my Meco Midget torch (N3) and proceeded to heat both longerons evenly at Station B to start out with. This would give us an idea as to how well it would work. The first bend went fine, so we went ahead find finished the two bends on the aft portion of the fuselage. To accommodate the last bend, we attached two vertical pieces of wood to the jig table. The idea is to bend the last station and clamp a piece of wood on either side of the aft fuselage to support the tubes as they cooled. This worked out great and after it cooled, we tacked the remaining diagonal tubes that were left loose so the bends could be made. The bottom fuselage is now ready to be joined with the top. The next step is to remove the bottom from the 1 inch steel blocks and realign the fuselage on the jig table.
Here's a YouTube link to the bending process...just one step above watching paint dry!