Brief Description: Final fuselage top tack welding Part 1
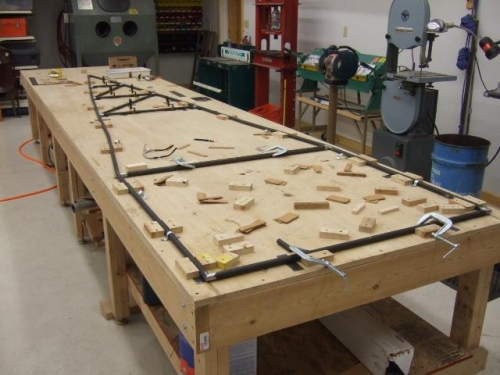
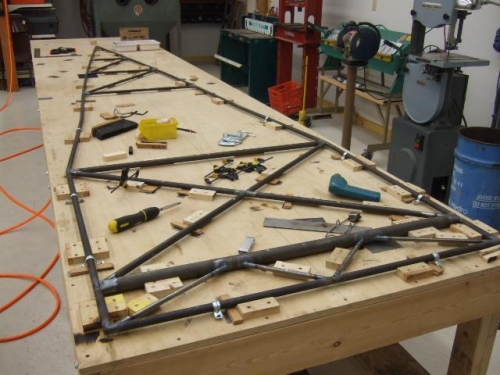
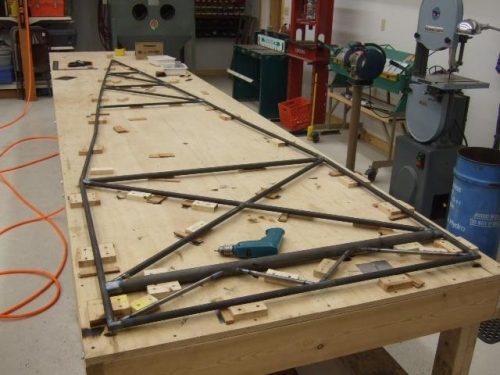
Today I assembled al the fuselage parts back into the jig and tacked the top fuselage parts this afternoon. I was really happy with the result. It was truly a zen experience with the torch and the tiny puddles of the tacks. Once I was done, I flipped the fuselage top over in the jig to verify it was symmetrical and it dropped in just about perfect. You can tell between pictures two and three by looking at the direction the diagonals in the aft portion of the fuselage are pointing. It all fit...except for the front tube. It was off. I made some measurements and the measurement between the center of Station O (main spar carry-through) and Station P (the tube for the top of the windshield) was off by 1/8th inch.
I was positive everything was ok before I started. Then, I sighted down the tube and found the problem. There are two small 1/2in tubes that meet in the middle and it looked like they pulled the tube in when I tacked them in place. I cut the tacks and the tube went back to almost normal position. I put the top back in the jig, reclamped the front tube really well and retacked those small tubes. I let it cool for about 20 minutes. When I looked, it was still pulled in the middle. I put a straight edge along the tube and the gap in the middle is now a 1/16th inch. The solution is in part 2.