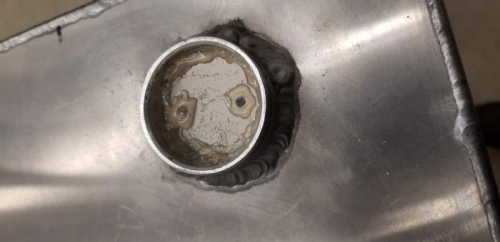
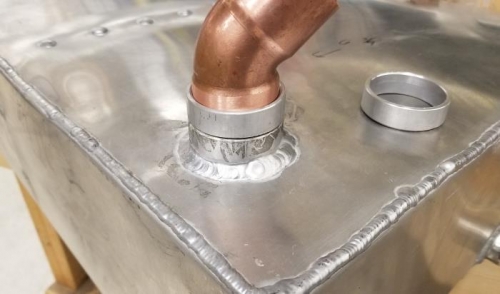
It is straightforward to weld aluminum with a TIG, but keeping alignment with a metal that moves so much when heated can be a challenge. I first had to shorten the filler necks by a ¼ inch. To seal in the filler neck properly the o-rings on the caps can’t land on any seams. So I measured the depth of the caps for o-ring engagement. I made the extensions just a bit longer, figured out how much I wanted them to protrude and subtracted the distance. That’s what gave me the length to cut on the filler necks. The resultant height will be what I want protruding from the wing skin. I tried to get it as close to the aux tank neck extension as possible so they look similar. I hot glued an aluminum tie down disk in the neck to keep as much debris as possible out of the tank when I’m filing and grinding. Once that was done I used a copper plumbing fitting I got at a thrift store as an alignment tool and welding backer. I welded the extension on, removed the copper fitting and smoothed out the outside weld. The copper kept the inside perfectly round. With proper welding sequence to minimize distortion, the caps fit perfectly after fine-tuning.