
|

|
|
|
Alaskan Bearhawk
|
Date: 11-28-2015
|
Number of Hours: 6.00
|
Manual Reference:
|
Brief Description: SIde Stringers Part 2
|
|
I’m putting together a few days of work into one log since there wasn't much going on except for a bunch of fiddling around. This, at least for me, was super tedious. Measuring, fitting, tacking, bending, fitting, bending, fitting, unbending, fitting, etc, etc.
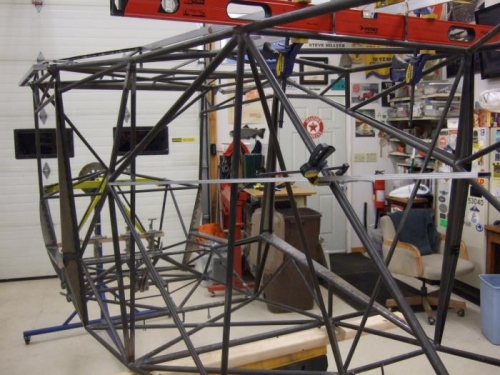
The placement of the stringers was really easy. I pulled a string tight from the front brackets to a point on the last station measured as per the plans from the top longeron. Once all the marks had been made on the vertical tubes, it was just a matter of setting the horizontal distance. Since at this point the aft cargo door measurements are set on the right side, it was a simple matter of just measuring and duplicating it on the left side. All I did was place a straight edge (in this case a level) on the top of the fuselage, measured down to the top stringer bracket on the right aft cargo door opening and just transferred that measurement to the other side. Remarkably, it was in exactly the same place where I had measured the taught string! Yay…right on track. That’s when all the tedious fitting of brackets and forming longerons started.
|
|
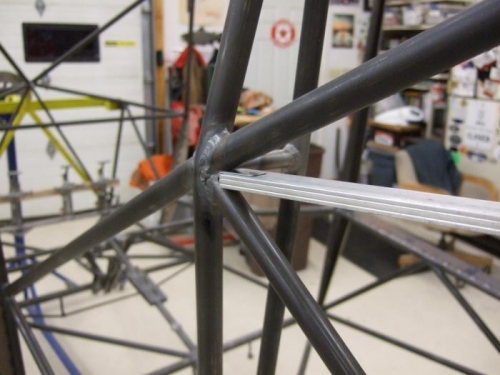
Front bracket
|
|
Setting the distance
|
|
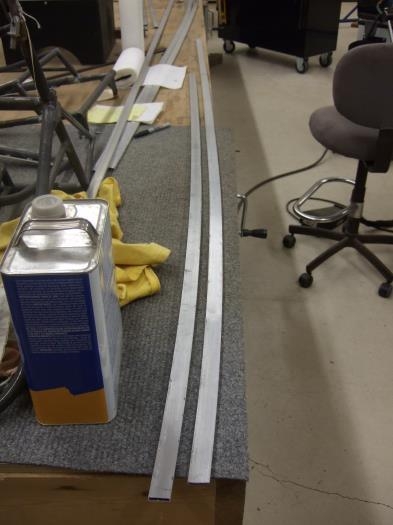
Two left stringers all done
|
|
|
|
|
|
|
|
|
Copyright © 2001-2024 Matronics. All Rights Reserved.
|