
|

|
|
|
Alaskan Bearhawk
|
Date: 3-26-2011
|
Number of Hours: 5.00
|
Manual Reference:
|
Brief Description: Making Rudder Pedals Part 2
|
|
A good day in the shop without too many interruptions! More welding of the small parts in the rudder assembly. I finish welded the toe brake pedals, then welded the main pedals together.
After doing all those, I needed to figure out what the best, repeatable way there was to attach the lugs that hold the toe brakes. I first went to the drawing and found out the approximate attach angle, which happens to be 45 degrees. I then explored ways to hold all of the components in alignment while tacking the lugs in place. I finally settled on the setup in picture two. It held everything in perfect alignment, was easy to change out the components and had repeatable results. It just so happened the measurement between the top of the toe brake and the top of the rudder pedal is 4 inches. The metal shims serve two purposes. The weld bead doesn't allow the main pedal to lay flat, so it holds it up just a bit evenly on both sides. It also allows for a ground for the TIG. It took longer to figure this setup out than tacking it together.
One other side note. Since the brakes need to function freely, I made two spacers that fit in-between the lug and the brake pedal while tacking. It was mainly to compensate for paint thickness. I used the lid off a cookie tin and punched a couple of 1/4in holes with my Whitney punch. I cut them out with snips and they were about .010 thick. The sequence is bolt, lug, spacer, pedal, spacer, lug, nut...worked perfect.
|
|
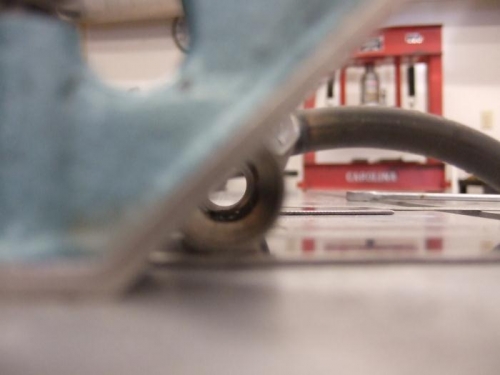
Confirming the angle
|
|
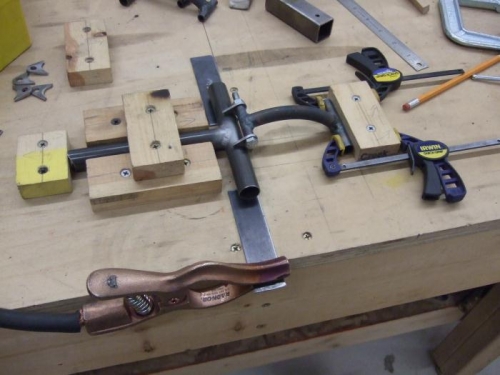
In the jig, ready to tack
|
|
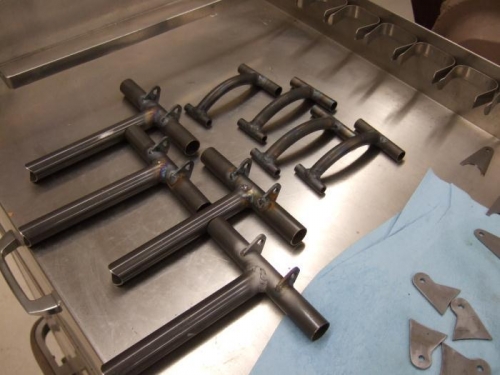
Parts is parts
|
|
|
|
|
|
|
|
|
Copyright © 2001-2024 Matronics. All Rights Reserved.
|