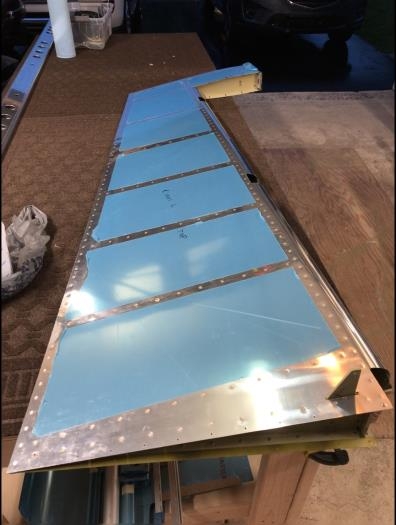
This was the final rudder assembly steps which include attaching the rear spar, riveting the trailing edge with double flush rivets, rolling the leading edge, and adding the counter balance weight.
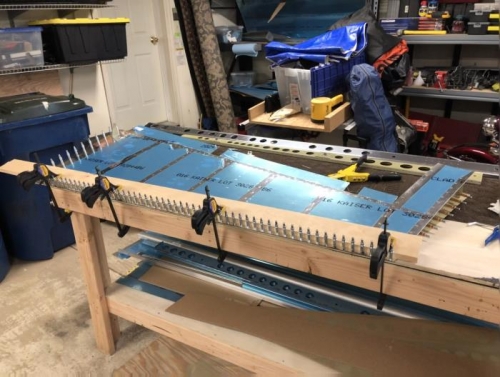
The rear spar attachment was simple. Pop rivet to the shear clips and rivet the two skins with flush rivets. For this I used a combination of the pneumatic squeezers and rivet gun. Note: I had to use my back-rivet plate as a bucking bar to get the flush rivets on the spar closest to the trailing edge. For the very last rivet near the trailing edge I used a pop rivet on both sides no just one as per the plans.
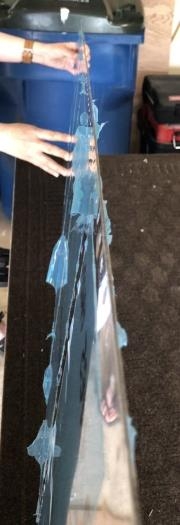
The Double Flush rivets were also straight forward, working from the middle drive the rivet in line with the rivet head partially in, then moving out 10 and repeating, then back to the center and repeat the process for the ones half way and so on. Once the first round of setting the rivet is complete then restart the process with the rivet gun parallel to the skins and drive the rivet all the way. I used the back rivet set to complete this - you need to ensure that the rivet set is slightly closer to the end to ensure that the rivet set guide does not mark the skin.
Rolling the leading edge and adding the counter balance weight was as described in the plans.