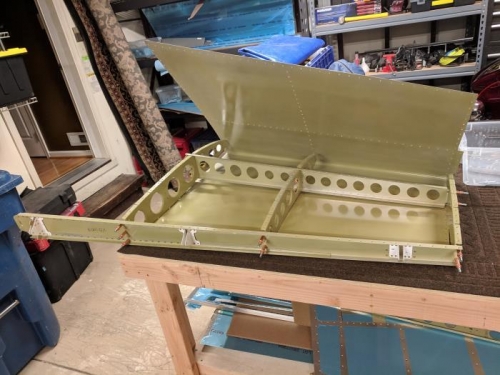
Brief Description: Final Assembly of the Vertical Stabilizer
Final Assembly of the Vertical Stabilizer, I was initially tentative about using the rivet gun and bucking bar choosing to use the pneumatic squeezer instead. The squeezer is amazing and really helps with consistency.
The trick with the rivet gun and bucking bar for me was just going for it, once you start it works well, I have my pressure set at 60 psi which seems to allow me time to make sure I have everything set just right.
Note: One word of wisdom, really hold onto the bucking bar and have tape around the edges, otherwise you will get slight dings on the skin. This also prevents the bucking bar from scratching the inside of the spars, ribs, and skins.
Couple of changes / Fixes I would do...
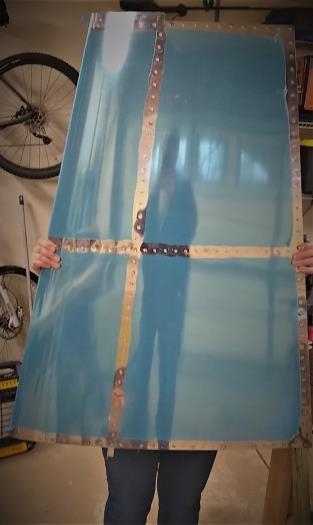
1) As seen in image 2 - I would have put the manufactured head on the bracket side and the squeezer would have worked better. 2) As I was doing the riveting, I dropped the complete assembly on the floor and dented the front top and bottom of the skin. I talked to vans and it was not an issue so I disassembled the skin and re-formed the edge, was fairly easy.
Note: If you have to disassemble ensure that you re-check all of the parts for proper fit and straight edges. I did not realize that the middle inspar rib flange was bent from drilling the rivet and therefore I was not able to rivet it to the skin using the flush rivets so I had to use a pull rivet.