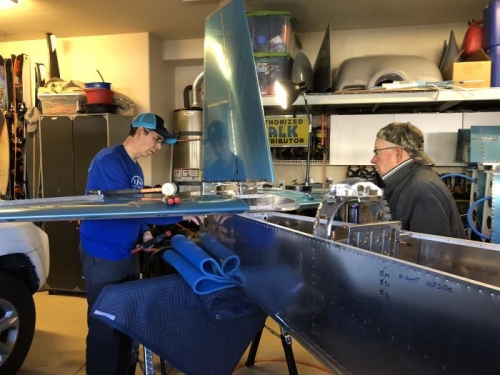
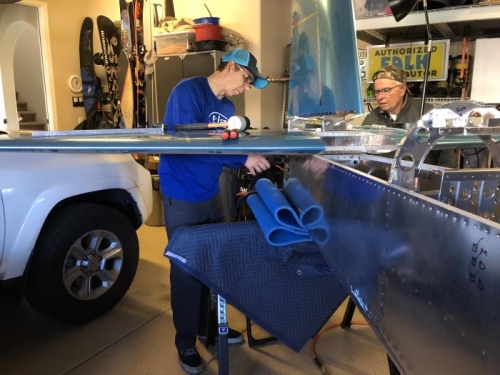
This is a day of measuring 16 times to confirm each hole.
My dad was in town and spent the day helping me align and mount the vertical stabilizer. We verified the distance from the top rear edge of the vertical stab to the outer rear edge of the horizontal stab. Measure, move, measure, move. again and again. We finally landed on 62 3/8" on each side. Marked the three rear spar locations on the vertical stab. Removed the stab and drilled the #30 holes. Remounted and final drilled the 1/4" holes. Bolted and marked the two holes on both sides of the location hole. Removed the stab and drilled #40 holes and then final drilled the #30 holes and then the bolt holes. Temp bolted the assembly together. We then mounted an angle on the back of the vertical stab and measured out 6" on each side. Strung a stringline from the angle to the second bulkhead and measured the distance from the vertical stab to each side. Measure, move, measure, move. We finalized the lateral distance and movement clamped the vertical stab to the 884/885 mount/spacer. We then strung a stringline down the 3 hinges and confirmed that the assembly was aligned and straight. We then drilled the #30 holes in the front mounting plate and spacer for the vertical stabilizer. Removed everything and deburred the parts. D/A, scuffed up the spacer and the two sihims that are the flat horizontal sapcers fro the mounting of the horz. stab. Also d/a'ed the rear control lock for the vertical stab. Primed all parts. Clean up all pieces, rived the spacer to the assembly and mount. (Jennifer game me a wonderful piece of art