Brief Description: Completion of the right aileron
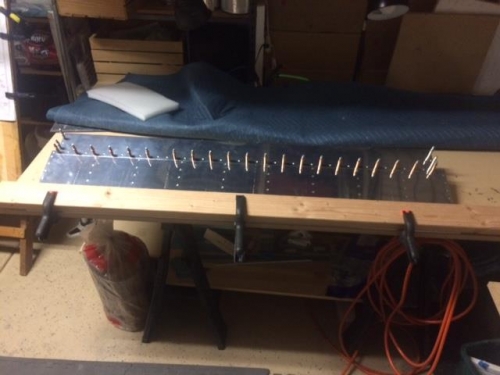
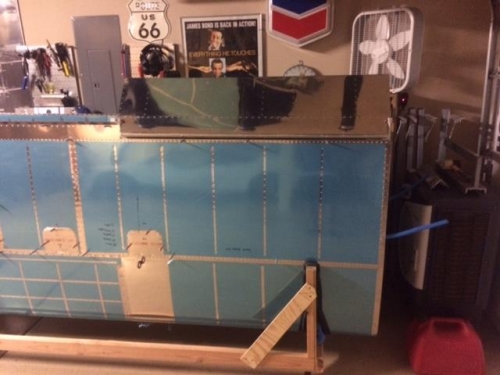
Worked through the Right ailreon assembly. Riveted the counterbalance into place on the forward ribs. I used two wood crates to elevate and hold the aileron stable while flush riveting the top skin. You've got to love pop rivets, asfter a series of solid riveting the top skin in the tight access of the aileron. (Everything looks alighned and streight. Cut spacers for the the attachement to the rear wing spar. My wife (Jenny) came up with an awesome idea on feeding the washers in the middle of the series of spacers and brakets. She suggested useing thread to lower the two washers into pace and then pulling the thread through for a clean attachement. It worked awesome ! It was great to see one of the ailerons bolted to the wing (while I don't have the linkage connected) it gives a good feel for the total size of the wing awsembly.
Weighted aileron for final blind rivets on the bottom